Saturday, December 30, 2017

Motto for 2018

Hello everyone!!  Kymona from Kreative Kymona with a Craft Fantastic Necklace Motto for 2018.

As we get closer to the new year, I think about all of the things I want to do different in my life.  I have a lot of new things to discover about myself and the things I want to accomplish.

One thing I'm sure about is that not doubting myself and my crafting abilities.  So I took the catch phrase from one of my favorite songs and made it my slogan for 2018 when that doubt starts creeping in.

Let's Take a Look:


I love this saying and can't wait to remind myself everyday, that I'm a Big Deal!!

What do you think?  

Are you going to pick a slogan for 2018 and create a necklace with it?  Let me know.

Where to find us:

Just in case you didn't know you can find Craft Fantastic on all of the social media platforms:


Follow so that you don't miss out on any of the creative ideas, deals and new goodies that appear in the store.

Thank you so much for stopping by!!

Tuesday, December 26, 2017

As We Head In To The New Year...

I hope you are all having an amazing holiday season! As we head in to the new year I know I personally tend to reflect on what has gone on over the last year and think about what I would like to do in the upcoming year. For me, I am looking forward to taking some crafting classes, jewelry classes and art classes. Have you ever taken one of the amazing classes offered by Craft Fantastic? I had the privelege of taking three classes offered by Craft Fantastic a few weeks ago and let me tell you,
Check out this class pack of materials! And this was only for one of my classes!!!!!
OMG I had so much fun!!!!
 They give you so many goodies it is so well worth it!!! When a class is near you, definitely check it out. You will be glad you did. Keep an eye on the website for the announcement of classes and shows for 2018 and come see us!
And now for a quick and Easy New Year card, I actually went in to Microsoft Word and typed out the year and the sentiment and printed out on colored cardstock. Please note, I printed on my laser printer so there was no concern of the ink smearing. I used some layering dies and some more colored cardstock to layer up my card. Next I used some of the Tiny Glass Rounds and some Glaze & Glue to make my 2018 stand out on my card.

And to finish it off I added a double layer of ribbon.

 Wishing everyone a very Healthy and Happy New Year! Hope to see you at one of our shows or classes in 2018!

Hugs,

Judy

Saturday, December 23, 2017

Tag-tastic Packages

Hi everybody! Kim here from My Kraft Kloset sharing a few tag-tastic ideas to jazz up your holiday packages using your paper crafts and Craft Fantastic products. Still wrapping? No problem. See how easy these tags are to make in a flash.


I used this extra large tag punch to cut out a whole bunch of tags pretty quickly. But you can certainly use whatever you have, like die cuts or cutting machines, or pre-cut tags, or other shapes too! And look at these amazing images from Craft Fantastic...you can make over ten tags just from this one holiday sheet. Just think what you can make all year long for other occasions with their many other images too!


I punched several tags from solid cardstock and this fun holiday plaid patterned paper, layered them, and adhered together with Super Sticky Dots. Or this is a great way to use up your paper scraps too! 


Next I selected a few of my favorite holiday images, cut them out, and adhered to the tags with Super Sticky Dots


Then punch a hole in each tag at the top. Add a touch of glitter glue here and there for sparkle and a few snowflakes for some holiday flair. And finish them with some festive holiday ribbon. 


And you can customize your tags, like this one I combined a couple of our newest image sheets Painting Inspiration and Tea Time for somebody who loves tea. And cut each image out with a scallop square punch and adhered together with Super Sticky Dots.  All of these tags came together pretty quickly and you too can make a whole bunch in less than an hour with just a few supplies.


Voila! It's tag-tastic! And now you have several unique and special gift tags to decorate all of your holiday packages in a flash using your paper craft supplies and Craft Fantastic products. The possibilities are endless!


Try a Kit of the Month and get everything you need to get you started on making so many special projects. Thanks for stopping by! Happy Holidays & a Happy New Year!

Kim Klinkovsky
@mykraftkloset

other supplies: Stampin Up cardstock; My Favorite Things Plaid Patterned Paper; American Crafts Ribbon; Crop-a-Dile hole puncher; Marvy Uchida XL tag punch; EK Success Scallop Square Punch; Ranger Diamond Stickles glitter glue; and Creative Impressions Felt Snowflakes.

Wednesday, December 20, 2017

VERY MERRY CHRISTMAS CARDS

If you follow this blog you are know that CRAFT FANTASTIC products are great for embellishing cards and they have come out with a line of card kits and paper products to do so.  I however do not own the CARD KITS yet but decided to venture out on my own.  I took Christmas cards that I have to send and embellished them with JEWELERS GLASS AND IMAGE SHEETS.  Take a look:


Once I found the images that would work the best with my cards I used different sizes of glass to adhere the image with the CRAFT FANTASTIC GLAZE AND GLUE. The possibilities are endless depending on your cards.


I found that you can even adhere the glass pieces to the cards with the SUPER STICKY DOTS or you can use whatever other type of adhesive you prefer when crafting. This is a really easy add to any cards you may be sending.  Add ribbon and other adornments and you are done!


MERRY CHRISTMAS !!!!!! Liz from JUNQUE DRAWER DESIGNS

Saturday, December 16, 2017

Necklace Galore

Hello everyone!!  Kymona here from Kreative Kymona with Craft Fantastic Necklace Galore!!!

Have you seen Craft Fantastic December Kit?  It is full of necklaces.  I'm so excited about this kit.

Let's Take a Look:


I love that the kits come equipped with everything you need to create beautiful necklaces that are easy to create.

Here they are individually:


I love how they turned out and the images that come with the kit are amazing.

Wait, it doesn't stop there:

Craft Fantastic also release some new trays that are my new favorite!!  


These are call the Glimmer Tray in silver!!  I love them.  Super small in size and perfect for a simple look. I can't wait to make tons of these. 

What do you think?  

Aren't this necklaces from Craft Fantastic super cute?  Let me know if you would create some of these necklaces.


Where to find us:

Just in case you didn't know you can find Craft Fantastic on all of the social media platforms:


Follow so that you don't miss out on any of the creative ideas, deals and new goodies that appear in the store.

Thank you so much for stopping by!!


Tuesday, December 12, 2017

Card Creating With Craft Fantastic

Hi Everyone! Have you checked by the online store lately? Have you noticed the section called Card Creating? Well I got to attend some classes at Craft Fantastic Headquarters and Oh My Goodness I had such a blast! One of the classes I went to was a cardmaking class. Now on the website you will see Card Kits as well as Luxe-Line Cards and Envelopes. These Card Kits are great! They come with card bases, envelopes, instructions and all the parts and pieces. You just need to add Glaze and Glue and your preferred paper adhesives and a scissor or paper trimmer and it is super quick and super easy to make really gorgeous cards.

Now I have been a paper crafter and card maker for almost twenty years. I have to tell you these new Luxe-Line cards are fabulous! When you are making cards you really need to use a sturdy card base and these are sturdy, have a fabulous feel to them and are great to work with. The card bases measure 6 and 3/4 inches by 4 and 3/4 inches. There are five different choices: white kraft, off-white kraft, kraft, pastels and brights.

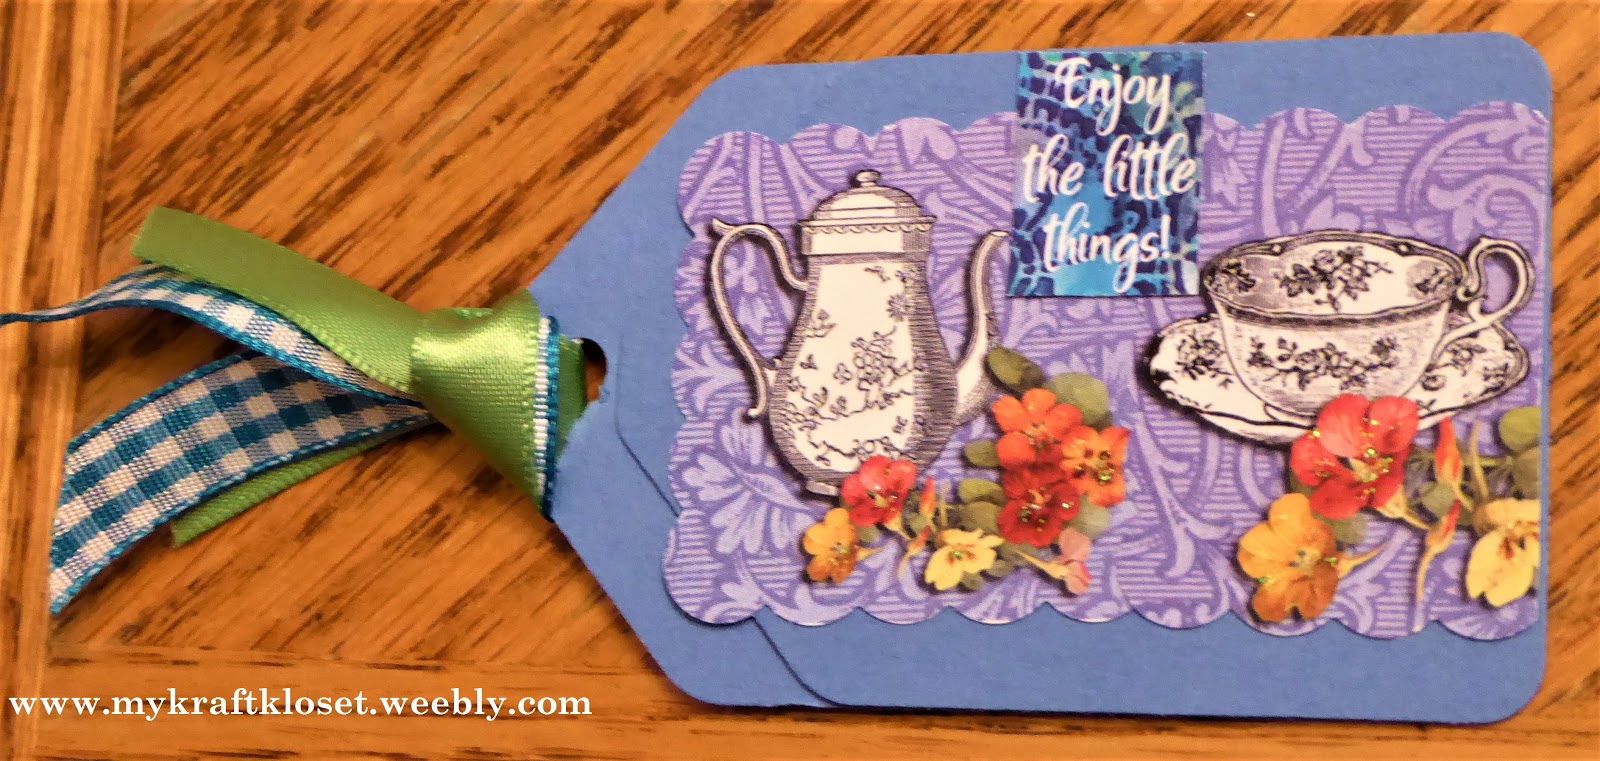
Today I am going to feature the brights and show you how quickly and easily these can come together.


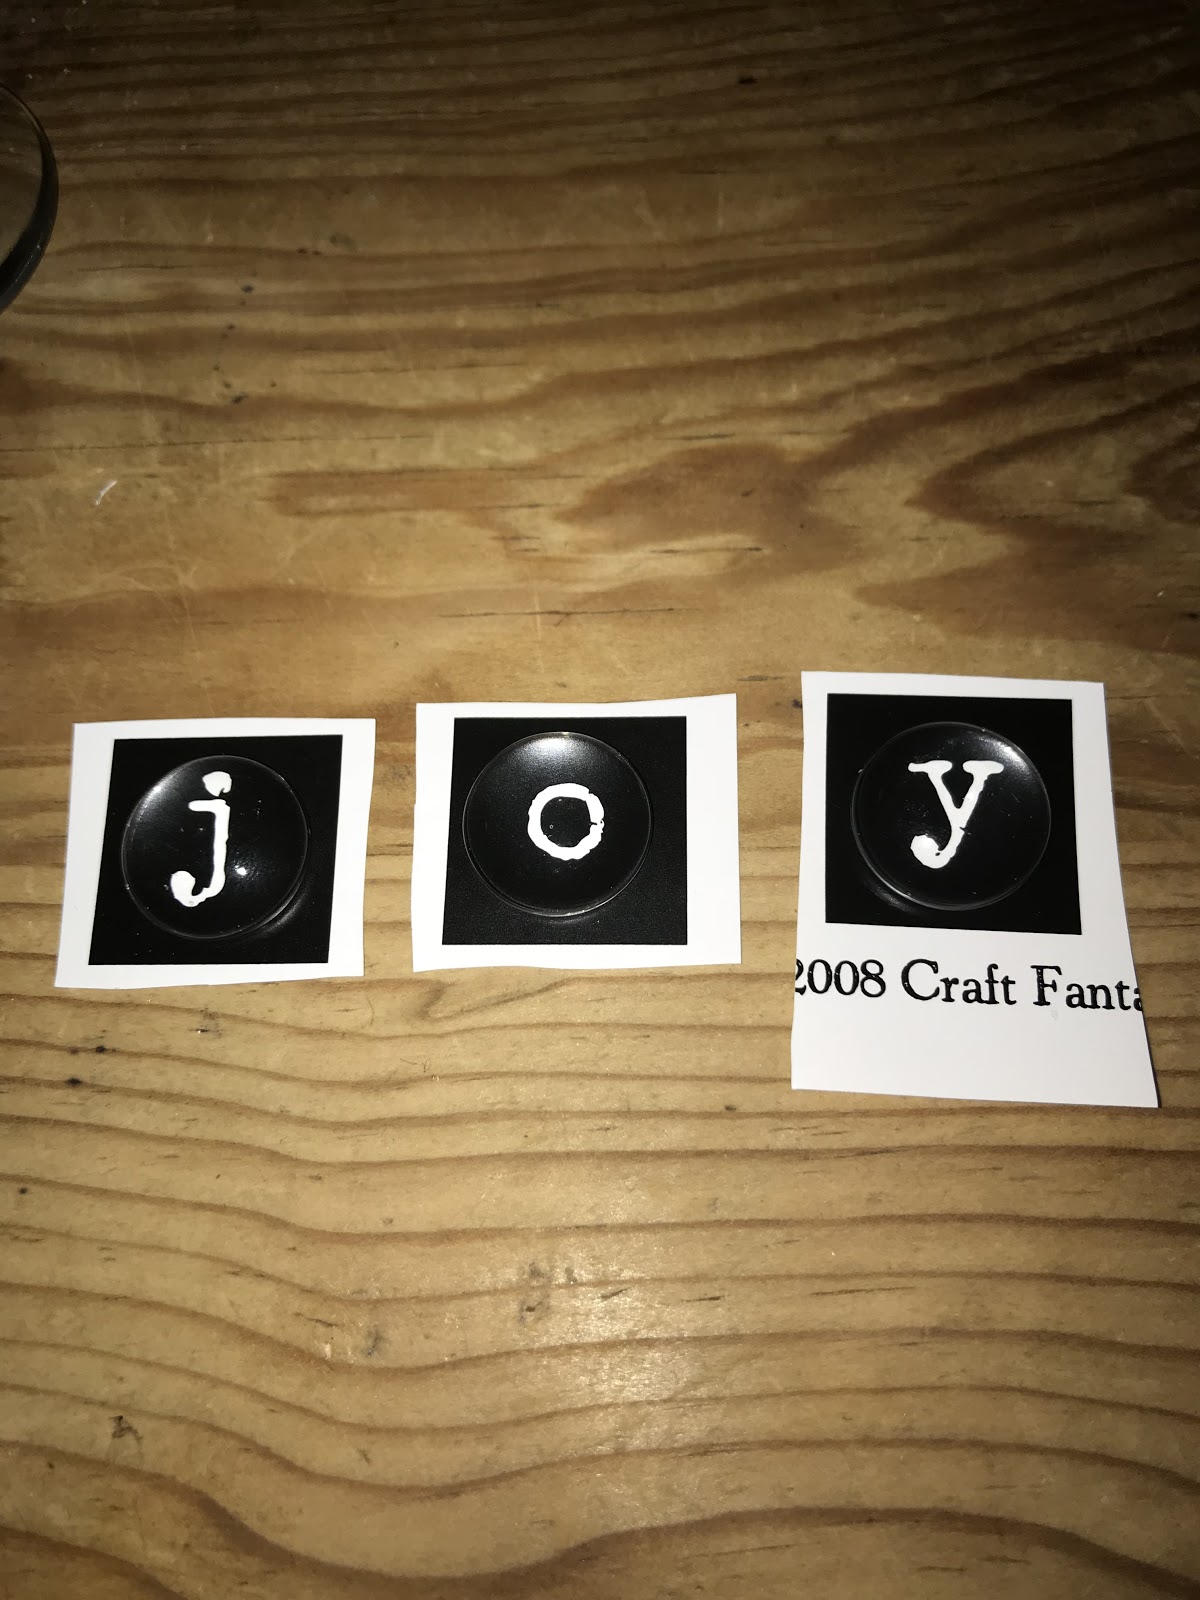
If you are like me you may work on several projects at a time, and perhaps, like me, you hate to throw out any leftovers. So take a look at your scraps, look at the beautiful colors in the different luxe card bases and see what you can come up with. I bet you have some 6 x 6 paper pads that you have used on projects and have some pieces left. Perhaps those sheets that have titles on them. Those are perfect for use with our Jewelers Glass.
That can make a great focal point.

Or perhaps you made several jewelry pieces and have a few images left over on your image sheet. Those can also make great focal point images with Jewelers Glass. How about a diecut that you thought you were going to use on another project and then wound up not using. Here are two quick and easy CAS cards. These were created as I was working on other projects and wanted to make use of leftover parts and pieces.
 

Give it a try! I can't wait to see what you come up with!

Hugs,

Judy

Saturday, December 9, 2017

Unique Holiday Gifts for Teens + Gamers

Hi everybody! Kim here from My Kraft Kloset sharing a few gift ideas for pre-teens, teenagers, or the gamers on your holiday shopping list. I have four kids and it gets harder and harder every year to find unique gifts for kids. Until I came across their Pokémon cards last week and it struck me, that I could make some really special holiday gifts using Craft Fantastic products.


I know...cutting up their Pokemon cards is blasphemy, (lol) but first I made sure they were duplicate cards, so they wouldn't get mad at me. Or you can print photo copies. See video "here" on that process.

Gather up all your supplies and let's get started...


1. Choose an image. Add several drops of Fantastic Glaze & Glue on the back of a Medium Glass Round. Press onto image until set. Wipe off any excess glue with a Q-tip.


2. Cut around the glass and cut out the image.


3. Next choose a tray. I decided on these fun Medium Round Duo Side Charm Trays in silver, so I could use more than one image. I think the kids will have fun flipping it back and forth to see the different images.

4. Lastly, adhere the glass images to the tray with a Fantastic Super Sticky Dot.


Voila! There you have several unique and special gift ideas or stocking stuffers for girls and boys or the gamers in your life. I had lots of fun making necklaceskey rings, bangles, earrings, and more. I can even see them on my kids backpacks as zipper pulls too! Even my husband hinted he wants a Pokemon key ring now too! So, I know, your kids or gamers will LOVE these!

Try a Kit of the Month and get everything you need to get you started on making so many special projects. The possibilities are truly endless! Thanks for stopping by! Happy Holidays!

Kim Klinkovsky @mykraftkloset

Wednesday, December 6, 2017

December Kit Assembly Instructions

 Introducing the NEW December Kit-of-the-Month

This ALL NECKLACE kit features two BRAND NEW Painting Inspiration Art Image Sheets using original artwork create by Craft Fantastic owner, Anne Engelhardt! A couple of sweet toggles add fun and interesting ways to configure the necklaces and an assortment of DISC CHARMS lets you further customize your pieces! Share your uplifting pieces with a friend who needs a boost or wear them yourself to add a bit of sunshine to your day! 

Let's put these fabulous pieces together...

Assembly Instructions

Thanks for ordering the Craft Fantastic DECEMBER KIT! This kit is available for a limited time. 
Click HERE to order yours today!  

Here's a few links to help you complete the projects followed by a few 
assembly instructions for each piece:


  1. Select an image and add it to the glass cabochons using Fantastic Glaze & Glue.   
  2. String the Small Square Pendant Tray onto the Faux Leather Necklace Cord. 
  3. String the Mini Round Pendant Tray onto the Faux Leather Necklace Cord.
  4. Add Fantastic Sticky Dots to the trays. Remove the red backing to expose the adhesive. 
  5. Firmly press the cabochon into the appropriate tray. 
  6. Firmly press the Mini Round Glass Bling into the appropriate tray.


  1. Select an image and add it to the glass cabochons using Fantastic Glaze & Glue.   
  2. String the Medium Round Pendant Tray onto the 30" Fine Ball Chain. 
  3. String the Mini Square Pendant Tray onto the 30" Fine Ball Chain.
  4. Add Fantastic Sticky Dots to the trays. Remove the red backing to expose the adhesive. 
  5. Firmly press the cabochons into the appropriate trays. 


  1. Select an image and add it to the glass cabochons using Fantastic Glaze & Glue.   
  2. String the Large Square Pendant Tray onto the Rolo Chain. 
  3. String the Mini Square Pendant  Tray onto the Classic Chain.
  4. Add Fantastic Sticky Dots to the trays. Remove the red backing to expose the adhesive. 
  5. Firmly press the cabochons into the appropriate trays. 


  1. Select an image and add it to the glass cabochons using Fantastic Glaze & Glue.   
  2. String the two Small Round Pendant Trays onto the 30" Fine Ball Chain. 
  3. String the Small Square Pendant Tray onto the 30" Fine Ball Chain.
  4. Add Fantastic Sticky Dots to the trays. Remove the red backing to expose the adhesive. 
  5. Firmly press the cabochons into the appropriate trays. 


  1. Select an image and add it to the glass cabochon using Fantastic Glaze & Glue. 
  2. Using pliers remove the Lobster Clasp and the Jump Ring from the end of the Classic Chain.
  3. Attach the Ring of the Toggle to one end of the Classic Chain using a Small Jump Ring.
  4. Attach the Post of the Toggle to the other end of the Classic Chain using a Small Jump Ring.
  5. Attach the Pinch Bail to the Ring of the Toggle.
  6. Attach the Large Oval Pendant tray to the Pinch Bail using a Large Jump Ring.  
  7. Add two Fantastic Sticky Dots to the tray. Remove the red backing to expose the adhesive. 
  8. Firmly press the cabochon into the tray. 


  1. Select an image and add it to the glass cabochons using Fantastic Glaze & Glue. 
  2. Using pliers remove the Lobster Clasp and the Jump Ring from the end of the Rolo Chain.
  3. Attach the Ring of the Toggle to one end of the Rolo Chain using a Small Jump Ring.
  4. Attach the Post of the Toggle to the other end of the Rolo Chain using a Small Jump Ring.
  5. Attach the Pinch Bail to the Ring of the Toggle.
  6. Attach the Medium Square Pendant Tray and the Mini Round Pendant Tray to the Pinch Bail using a Large Jump Ring.  
  7. Add Fantastic Sticky Dots to the trays. Remove the red backing to expose the adhesive. 
  8. Firmly press the cabochons into the appropriate trays. 

We hope you LOVE the DECEMBER Kit-of-the-Month! Be sure to follow Craft Fantasic on FACEBOOK and INSTAGRAM! Also, sign up for the CRAFT FANTASTIC NEWSLETTER for the latest and greatest sales, giveaways and product peeks! 

See you soon with more crafty stuff!

Craft Fantastic Card Kits

Hello everyone!! Kymona from Kreative Kymona here today to show Craft Fantastic Card Kits that are brand new!!

I'm so happy that I could bring my two favorite loves together - card making and jewelry making!!

Craft Fantastic sells the kits with three custom cards featuring a sentiment.  It also comes with blank cards, envelope, trays and glasses.


Let's Take a Look:


So pretty! The combination is beautiful!! The card kit that was used is called the Thank You kit. 

Here's how I to create this project:

1. Emboss the card front using the We R Memory Keepers embossing folder.

2. Create the charm as normal, if you are unsure on how to do that, click here.

3. Attach the charm piece to the small card front using a brad.

4. Attach the small card to the card front using foam dots.

Nice and easy!


Let's take a closer look:


What do you think?  

Isn't this card from Craft Fantastic super cute?  Let me know if you would create some of these Thank You cards.


Where to find us:

Just in case you didn't know you can find Craft Fantastic on all of the social media platforms:


Follow so that you don't miss out on any of the creative ideas, deals and new goodies that appear in the store.

Thank you so much for stopping by!!

Tuesday, December 5, 2017

DIY GIFTS/CRAFT FANTASTIC KEYRINGS WITH CLIPS

With the holidays right around the corner here's a quick and easy idea for stocking stuffers, a teacher gift or perhaps just for yourself.  They could also look awesome on a wrapped gift as an adornment. 


I used the WATERCOLOR INSPIRATION IMAGE SHEET mini and small for the SMALL ROUND CHARM TRAYS antique brass and silver and the KEYRINGS WITH CLIPS silver and antique brass to make this easy project. All these products can be found on the CRAFT FANTASTIC website.


First I picked out the sayings that I wanted to use and adhered the SMALL GLASS ROUNDS to the image with the FANTASTIC GLAZE AND GLUE.
Once dry I then cut the image out and put into the SMALL ROUND CHARM TRAYS using a SUPER STICKY DOT. I then attached the tray and a charm with LARGE JUMP RING silver and antique brass to the KEYRING WITH CLIP making for a quick and easy gift!


So many possibilities with all the IMAGE SHEETS CRAFT FANTASTIC has to offer along with all the CHARMS they carry.  Make sure to check out all the fabulous products and look through the blog for all the great projects!  HAPPY HOLIDAYS AND SEE YOU IN TWOO WEEKS with another idea for gift giving. 
Liz from JUNQUE DRAWER DESIGNS