

Oh my goodness! I cannot even begin to put into words how much fun I am having with this technique! The best part is, I know that each and every one of us has an assortment of old, half empty bottles of nail polish just sitting around in the bathroom taking up precious counter space. With this technique it's time to move those bottles of polish to the craft room and start having some fun!
Colorful, Playful, Creative Fun!
Let's start with the basics...
What You'll Need
Nail Polish - Any type of nail polish will do. Opaque polish covers better than sheer polishes, but with several coats sheer polishes work well, too. I used glitter polish, matte polish, sheer polish, metallic polish, etc. All had different results which makes it even more exiting.
Craft Fantastic Glass Cabochons - Any shape, any size. The world is your oyster ;)
Scrap Paper - A sheet of scrap paper to keep your work surface clean because this can get a bit messy and unfortunately nail polish is not all that easy to clean up.
Patience - There's a lot of waiting around for the polish to dry between coats, but luckily you can paint lots of these at one time.

Creating a Solid Jewel Tone Effect
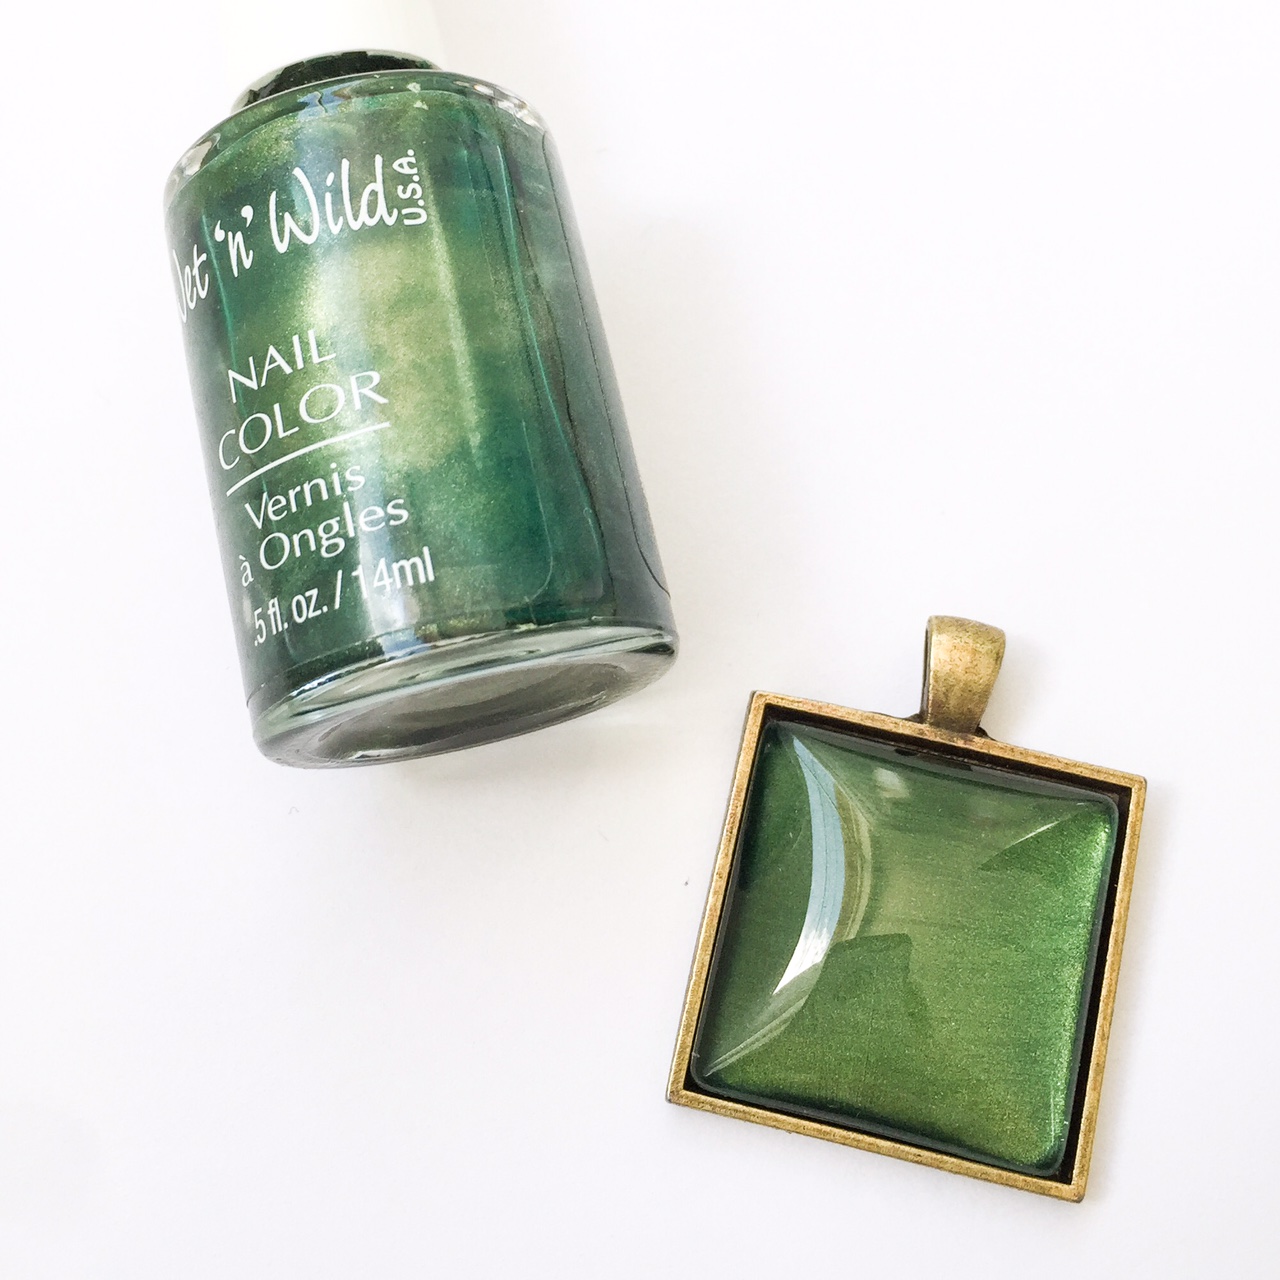
Working on a piece of scrap paper, start with a Craft Fantastic glass cabochon and your choice of nail polish.

Paint a coat of the polish onto the back of the glass cabochon. Don't apply it too thick as it will drip down the sides of the glass. If it does get on the front of the glass, scrape it off with a craft knife after it dries. No big whoop. Set it aside to dry. Completely. This will take a bit. This is where that patience thing pays off.

Repeat 2 or 3 more times to get the desired coverage on the glass. Each coat will make the color appear more vibrant. Be sure to let each coat dry completely before adding another. More of that patience stuff will come in handy right about now. After you're finished painting them, let them dry overnight before you affix them to a tray or finding.

Aren't they pretty! So vibrant! You could literally custom create jewelry to match any outfit in your closet!

Here's few more pics!


That's the basics of using nail polish with Craft Fantastic glass. An easy and fun technique that will give your custom jewelry creations a splash of vibrant color and a lot of panache! Give it a try and share your pics on the Craft Fantastic Facebook page. We would LOVE to see what inspiring projects you create with this fabulous finish!
Next week I'll share a quick and easy tutorial on creating designs on the glass with nail polish so tune in on Wednesday for something new!
Brilliant idea! Except I gave away all my nail polish! Dollar Tree visit in the future!
ReplyDeleteThese are gorgeous!! Geez and all the nail polish I own I could actually put to use.
ReplyDeleteCould you use acrylic paint and have the same effect?
ReplyDeleteMaking one of these now! Excited to find a good use for polish I wear very infrequently.
ReplyDeleteI am interested in types write-up. It really is good for uncover individuals explain in words about the heart along with knowing in this substantial style is generally merely found. bluesky gel polish
ReplyDeleteLike this blog To Be A Success Trader beacuse get detail information regarding trading this is very helpful blog to all trader.financial advisory company
ReplyDeleteWe put a lot of work into making sure that each cosmetic packaging is created according to your own needs and requirements. personalized nail polish bottles
ReplyDeleteThese are really cool. My question is--what kind of glue should be used to secure the cabochon into the tray?
ReplyDelete