Poinsettia Earring and Pendant Set
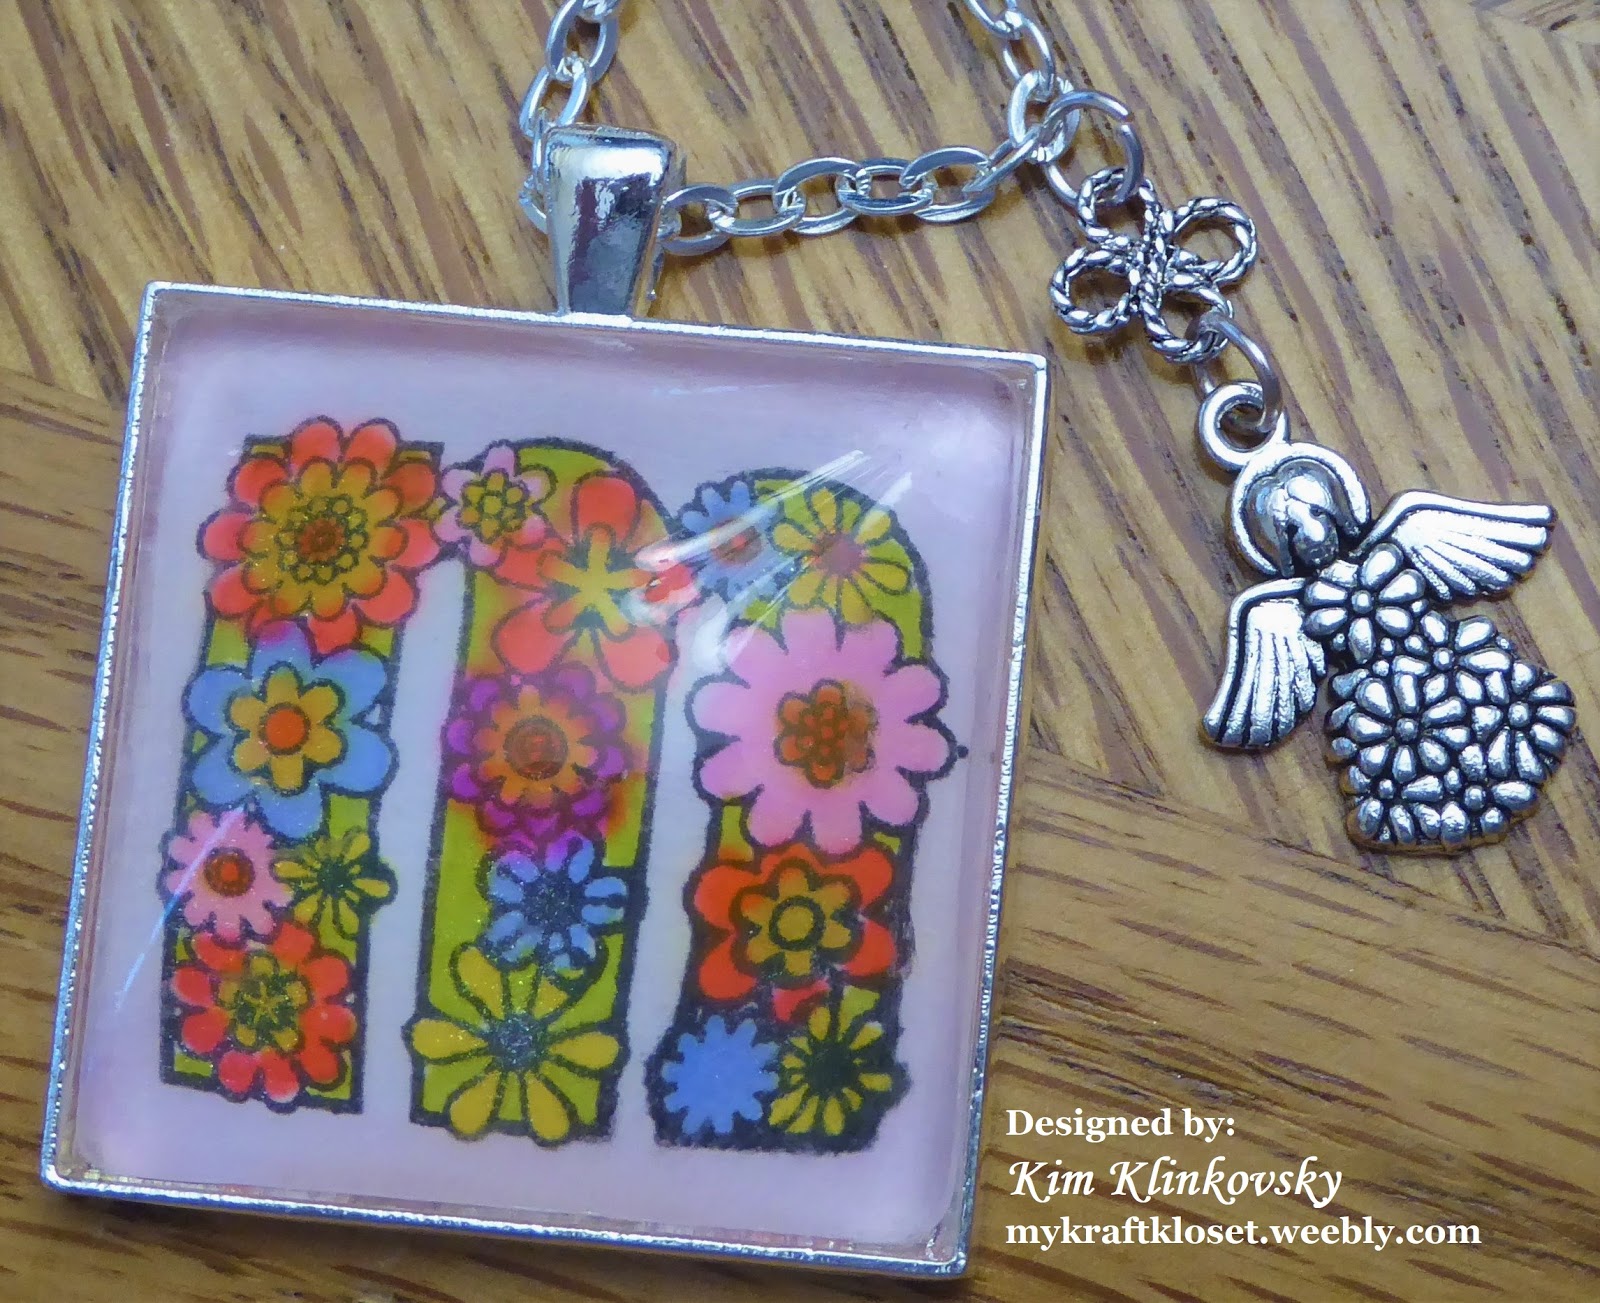
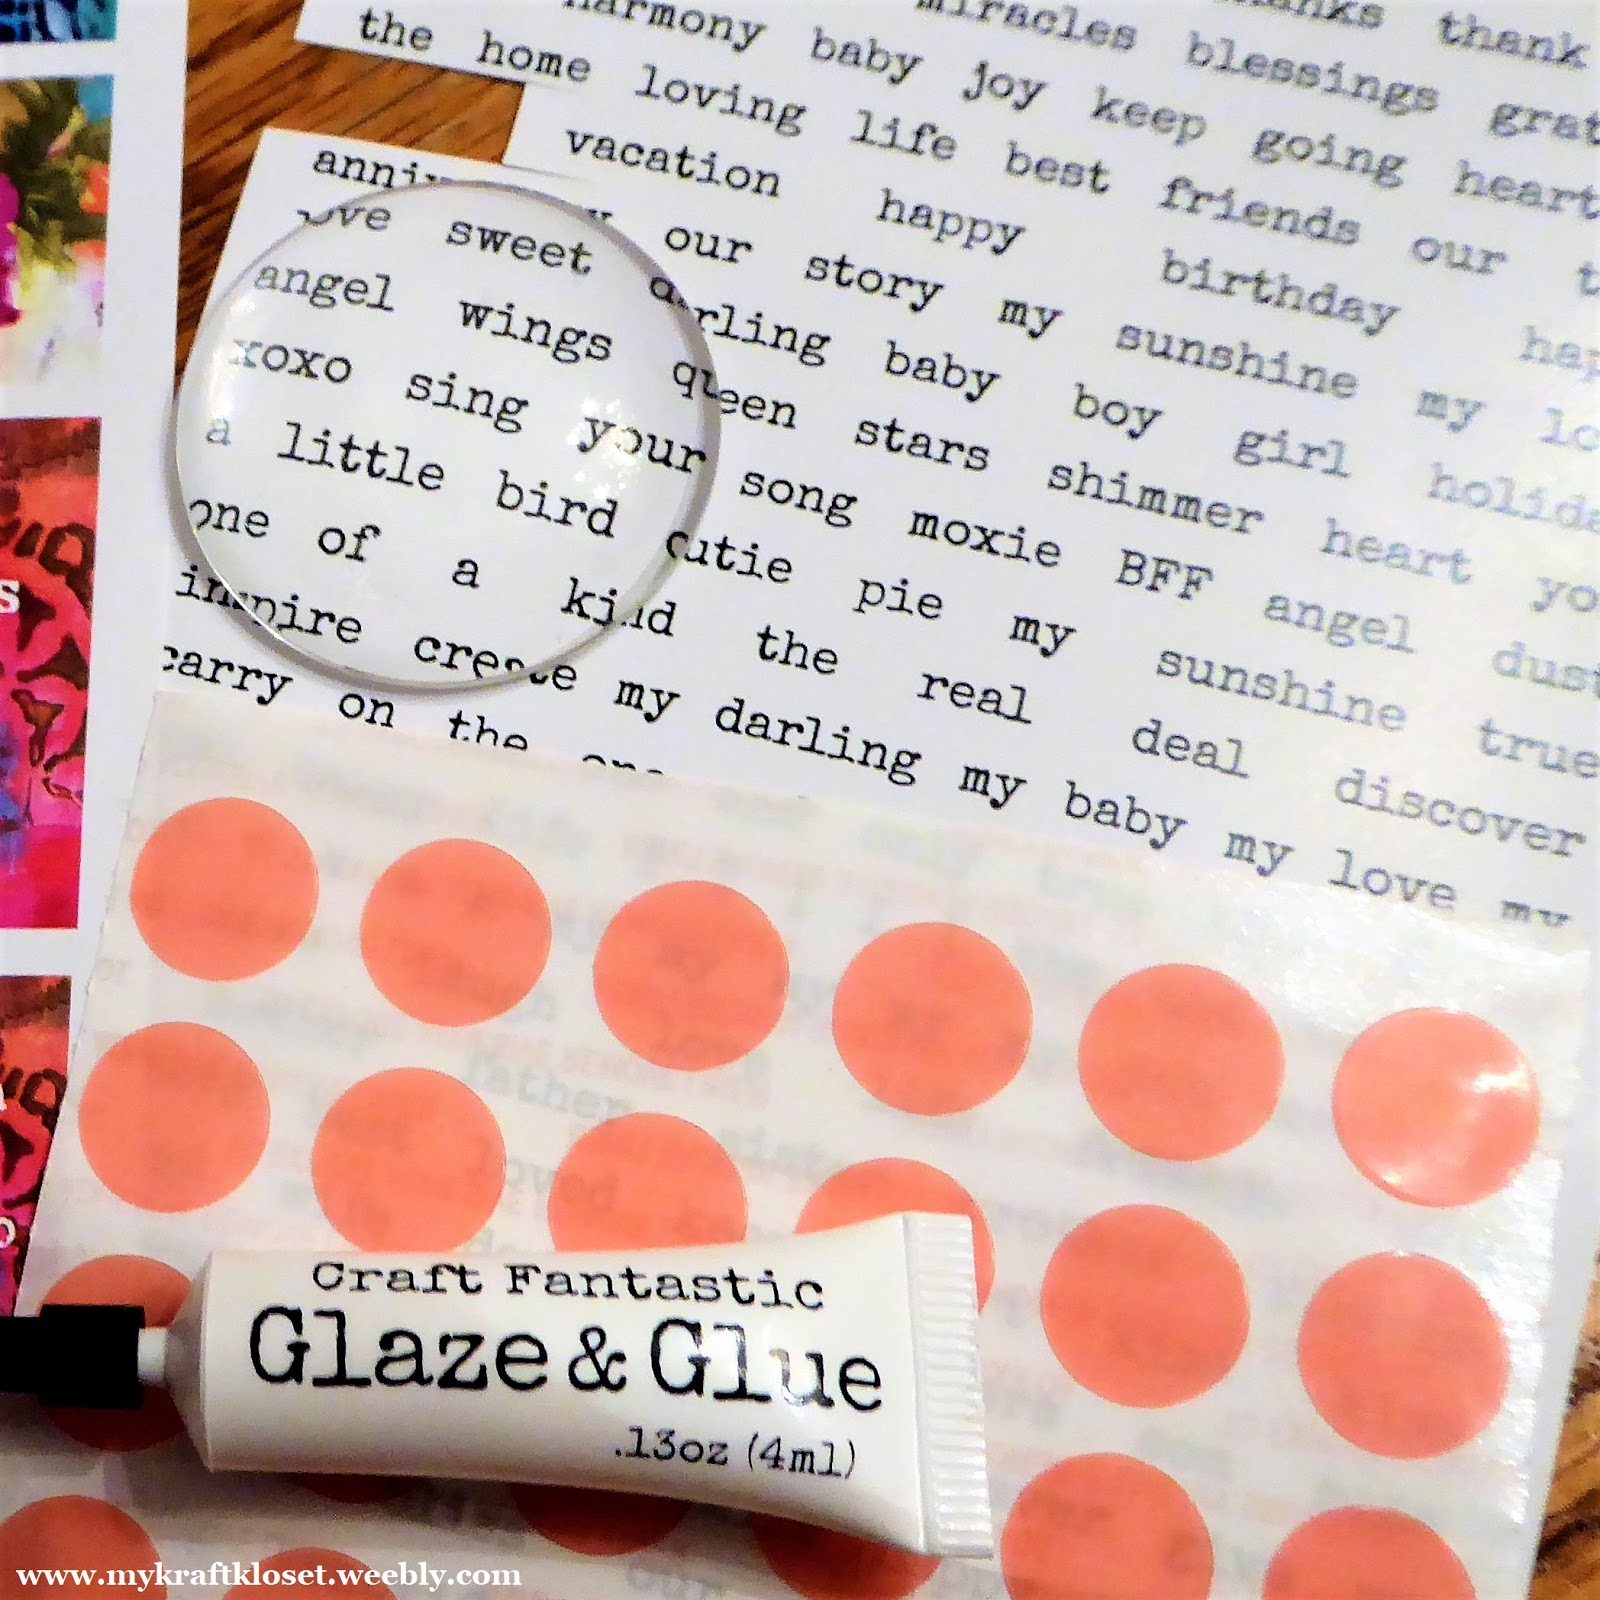
Gather up all your supplies, choose from hundreds of images, charms, jump rings, earwire earrings bangles, chains, glass pieces, trays, Glaze & Glue, Super Sticky Dots, scissors and Qtips.
Then click "here" to get all the basic details on how to make these masterpieces and all the supplies I used are listed in links below. Grab a friend or maybe your kids to make Grandma, Mom, or Auntie gifts. Ready...Set...Go...Craft!!!

Vintage Birds Pendant

Candy Cane Pendant

Bangle Charm Bracelet, duo tray side 1

Bangle Charm Bracelet, duo tray side 2
Click "here" to see how to collage the "s and daughter" together
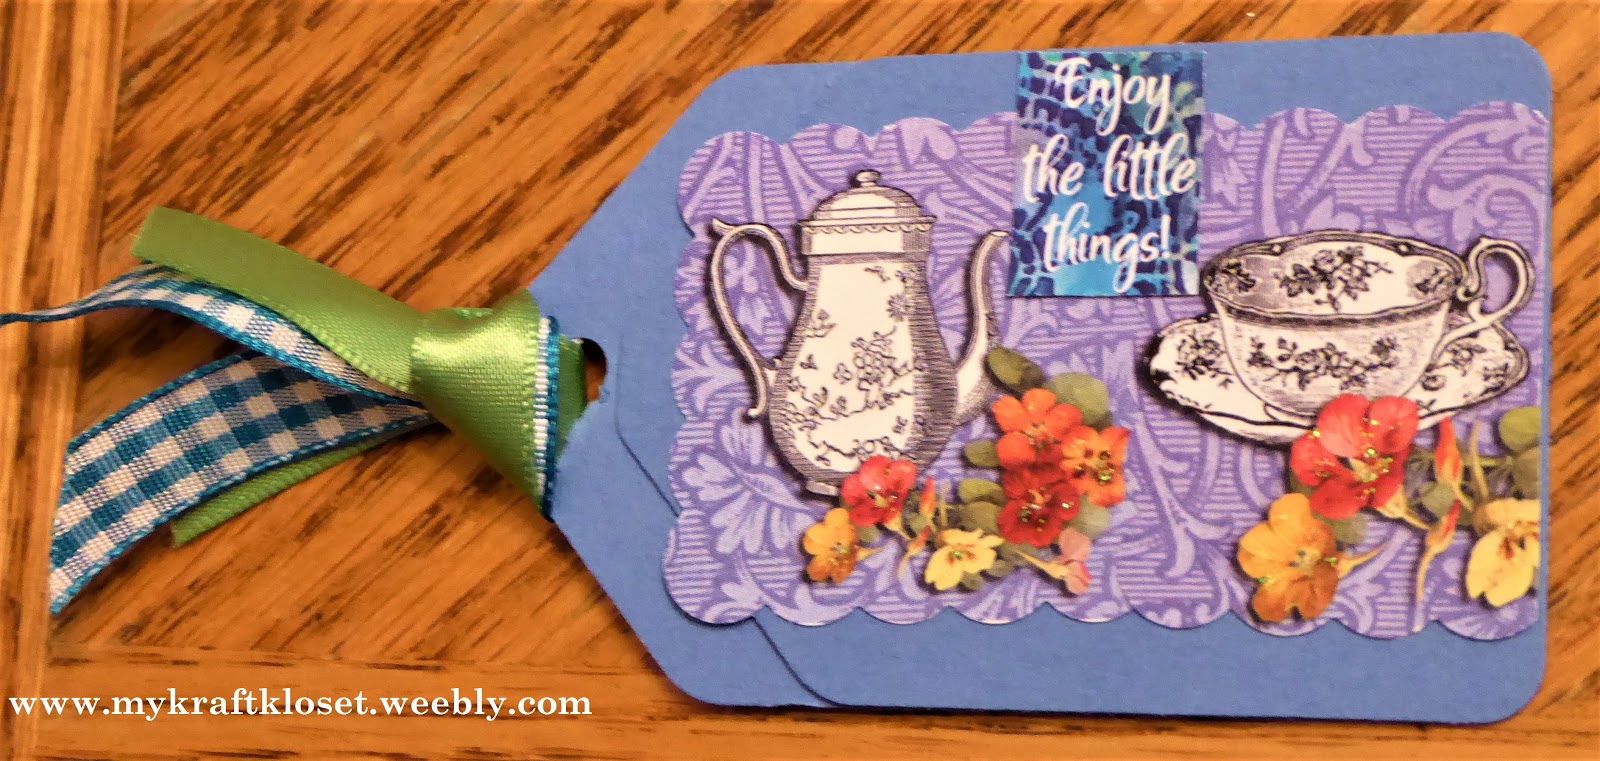
The possibilities are truly endless with these amazing Craft Fantastic products! Leave us a comment and tell us what you think of these projects or what your making for the holidays and share with us on social media. Thanks for stopping by! Happy Holidays!
~Kim Klinkovsky @mykraftkloset
Supplies Used:
MINI SQUARE PENDANT TRAY antique brass (poinsettia earrings)
MINI GLASS SQUARES (poinsettia earrings)
HOLIDAY mini & small glass sizes images (poinsettia earrings)
HOLIDAY all jeweler's glass sizes-large images (poinsettia pendant)
EXTRA LARGE SQUARE PENDANT TRAY antique brass (poinsettia pendant)
VINTAGE BIRDS mini & small glass sizes images (vintage birds pendant)
SMALL ROUND TWIST LINK TRAY antique silver (vintage birds pendant)
SMALL GLASS ROUNDS (vintage birds pendant)
HOLIDAY all jeweler's glass sizes-large images (candy cane pendant)
EXTRA LARGE ROUND PENDANT TRAY silver (candy cane pendant)SLIDE BANGLE silver (charm bracelet)
SMALL JUMP RINGS silver (to attach charms)
NATURE CHARM (tree of life) silver (Tree of Life charm) (bangle bracelet)
BUTTERFLY LINK TRAY KIT antique silver (bangle bracelet)
TINY ROUND GLASS BLING-Aqua (bangle bracelet)
MEDIUM FANCY HEART TRAY antique silver (bangle bracelet)
INSPIRATION mini & small glass sizes (bangle bracelet heart image)
WING CHARM antique silver (bangle bracelet)
MEDIUM ROUND DUO SIDE CHARM TRAY silver (bangle bracelet, double sided for two images)
HOLIDAY mini & small glass sizes Images (bangle bracelet, images for duo tray)
Silver Angel Charm (out of stock, but she is found in many past kits, so check your stash)
Day of the Dead Silver heart/flower Charm (out of stock, but maybe in past kits)
CHRISTMAS TREE CHARM antique silver (bangle bracelet)
ASSORTED HEART LOCKETS antique silver (bangle bracelet)
SMALL ROUND CHARM TRAY silver (bangle bracelet-letter "s")
SMALL GLASS ROUNDS (bangle bracelet - letter "s")
Alphabet #1 image sheet (bangle bracelet-letter "s")