Showing posts with label gift ideas. Show all posts

Thursday, November 29, 2018

Holiday Bracelet Gift Idea

Hi everybody! Kim here from My Kraft Kloset and the season of giving has begun. I grabbed a few affordable jewelry kits and I'm making customized holiday gifts using these amazing Craft Fantastic products. I love how you can monogram, add a name, pick out special charms, or use beautiful images to personalize each handmade gift. Follow along and I'll show you just how easy it really is.


Let's get started...


I had a couple of monthly kits on hand and chose this Twist Bracelet Kit in antique brass, because I like the vintage look and you get a lot of pieces to get you started. It is beautiful as is, but I took it a few steps further to personalize it with some special pieces to make it unique for my mom. All supplies listed below.


Next choose your images. That's the hardest part, because they are all so beautifully designed.  I love these holiday image sheets with the poinsettias and sheet music, an angel, and the children seemed fitting for my mom.

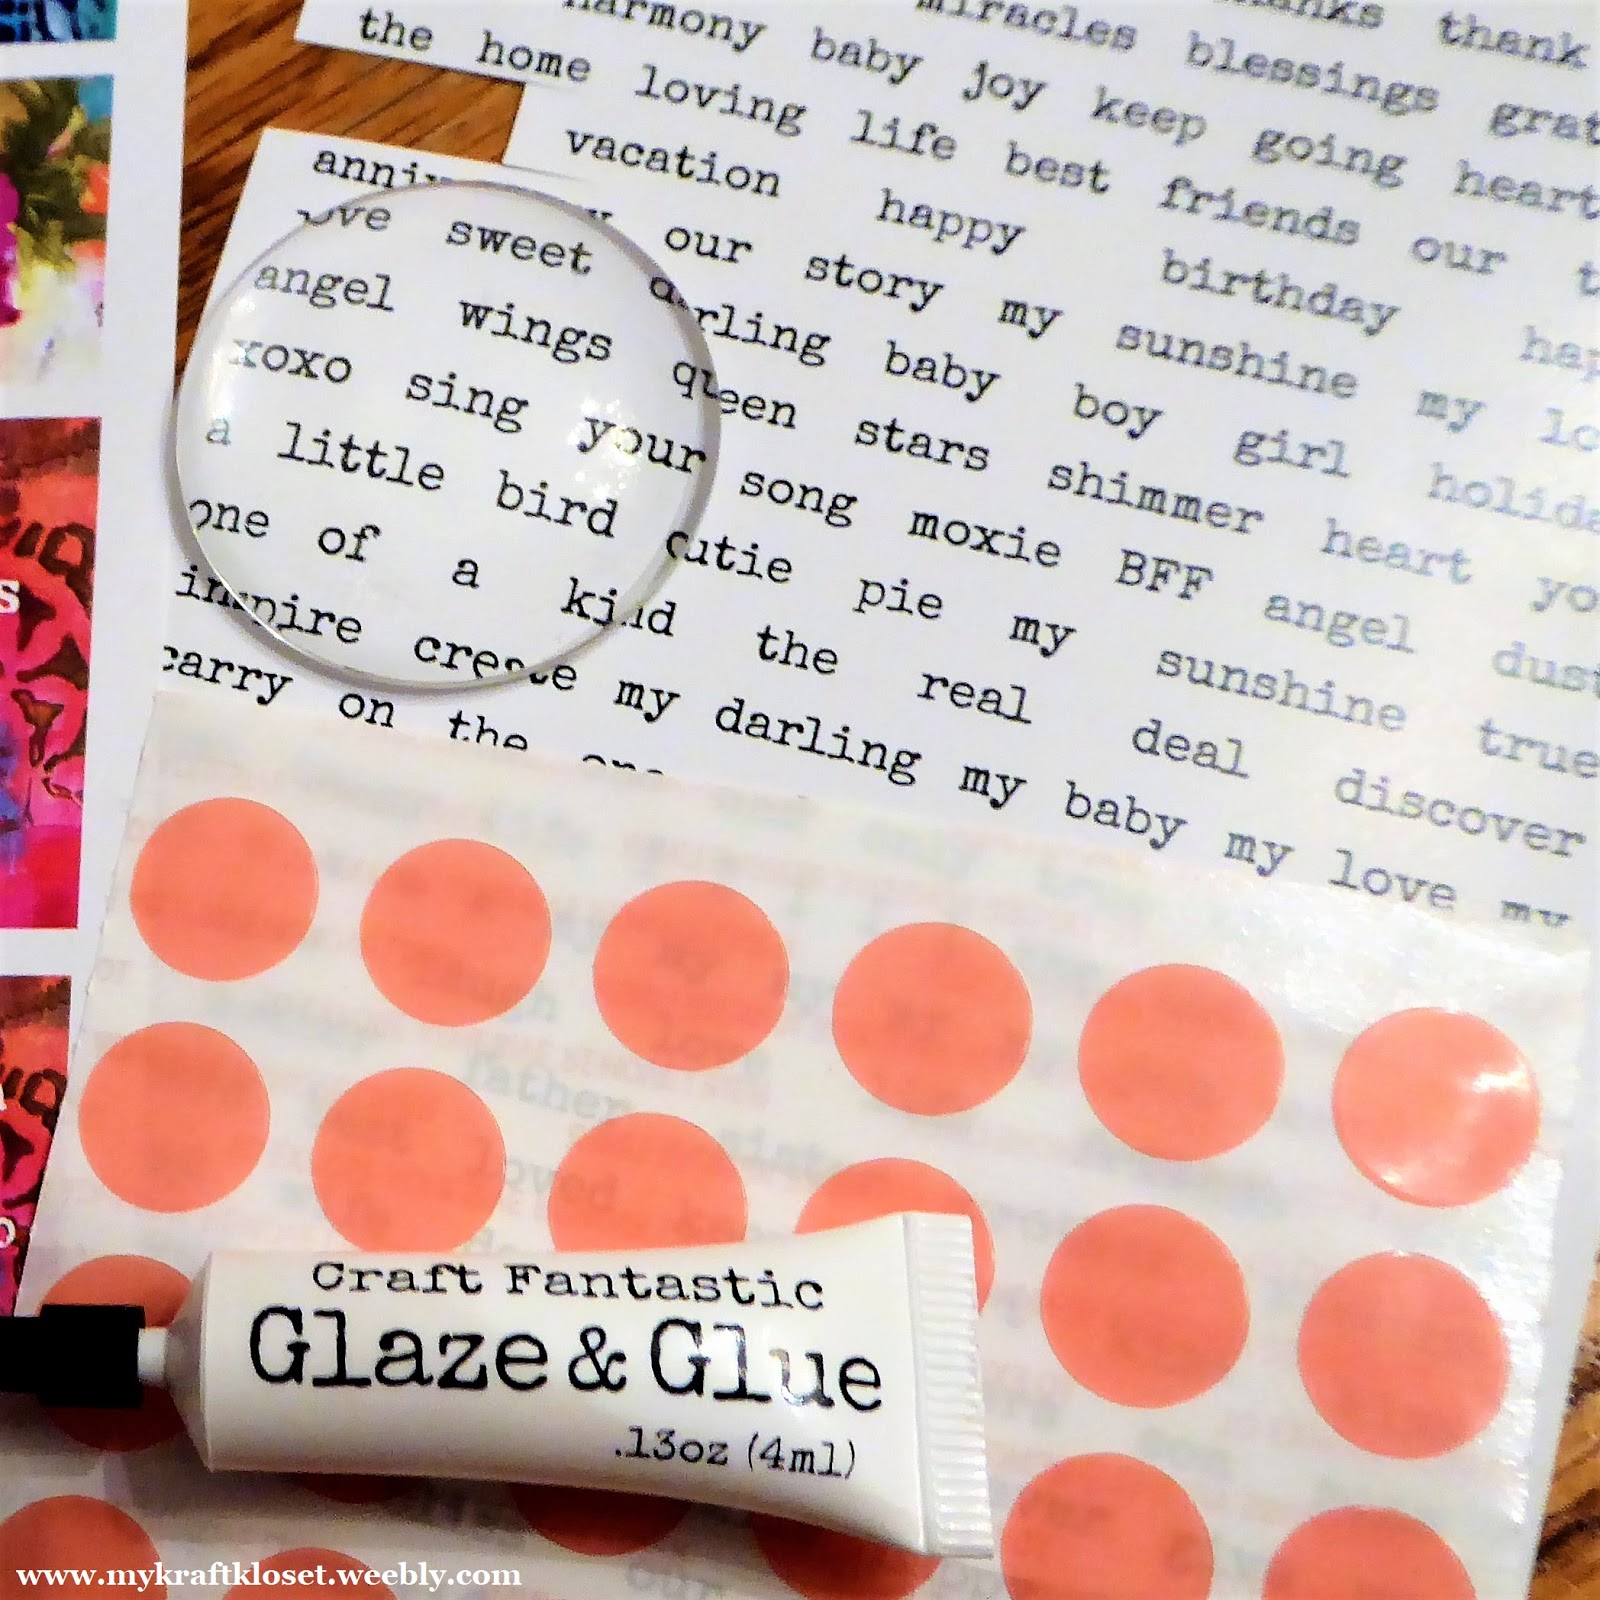
The bracelet kit comes with 5 glass pieces and 5 trays. Take a small glass round, add a few drops of Glaze & Glue and place over the image. Press gently and hold for a couple minutes until set. Wipe away any excess glue around the edges with a q-tip. Allow to dry for a few minutes and cut out. Repeat for all 5 round holiday images. 


For the heart piece I chose my moms initial from the alphabet image sheet. I cut the word "mom" out from the collage word sheet and glued it onto the letter "H" image with a dab of Glaze & Glue. Wait a couple minutes to dry or it will distort your glass if wet. 

Then take a medium heart glass piece, add a few drops of Glaze & Glue and place over the whole image. Press gently and hold for a couple minutes until set. Wipe away any excess glue around the edges with a q-tip. Allow to dry for a few minutes and cut out.

Now all the assembling fun begins...


I lay everything out and keep it in piles to stay organized. 

For the blue bling shown above, I chose my moms birthstone, added a Super Sticky Dot to an antique butterfly tray, remove red backing, and place the bling into the tray and press gently to set. 


Next line up all your images, charms, and trays to see what configuration you want. 

Take all 5 antique round twist trays and an antique brass heart tray, add Super Sticky Dots to each tray, remove red backing, and place the images into the trays and press gently to set for a secure fit. (as shown above)

Using a pair of pliers, attach each tray to each other with small jump rings. 

Then I added a few of my favorite charms for a dash of holiday charm and special meaning, that I attached with small jump rings and a pair of pliers. Attached the lobster clasp and a couple of large jump rings from the kit to each end of the bracelet with pliers so it will close and this special holiday gift is ready to wrap. 


Voila! There you have a uniquely personalized holiday bracelet that is sure to please anyone on your list this holiday season. And I hope I've inspired you to grab a Kit-of-the-Month or two to give as gifts and create something fantastic! 


The possibilities are truly endless with these amazing Craft Fantastic products! Leave us a comment and tell us what you think of this project or what your making and share with us on social media. Thanks for stopping by! Happy Holidays!

~Kim Klinkovsky @mykraftkloset


Supplies Used:
TWIST BRACELET KIT antique brass 
MEDIUM GLASS HEARTS

Thursday, November 1, 2018

Personalized Holiday Gift Ideas

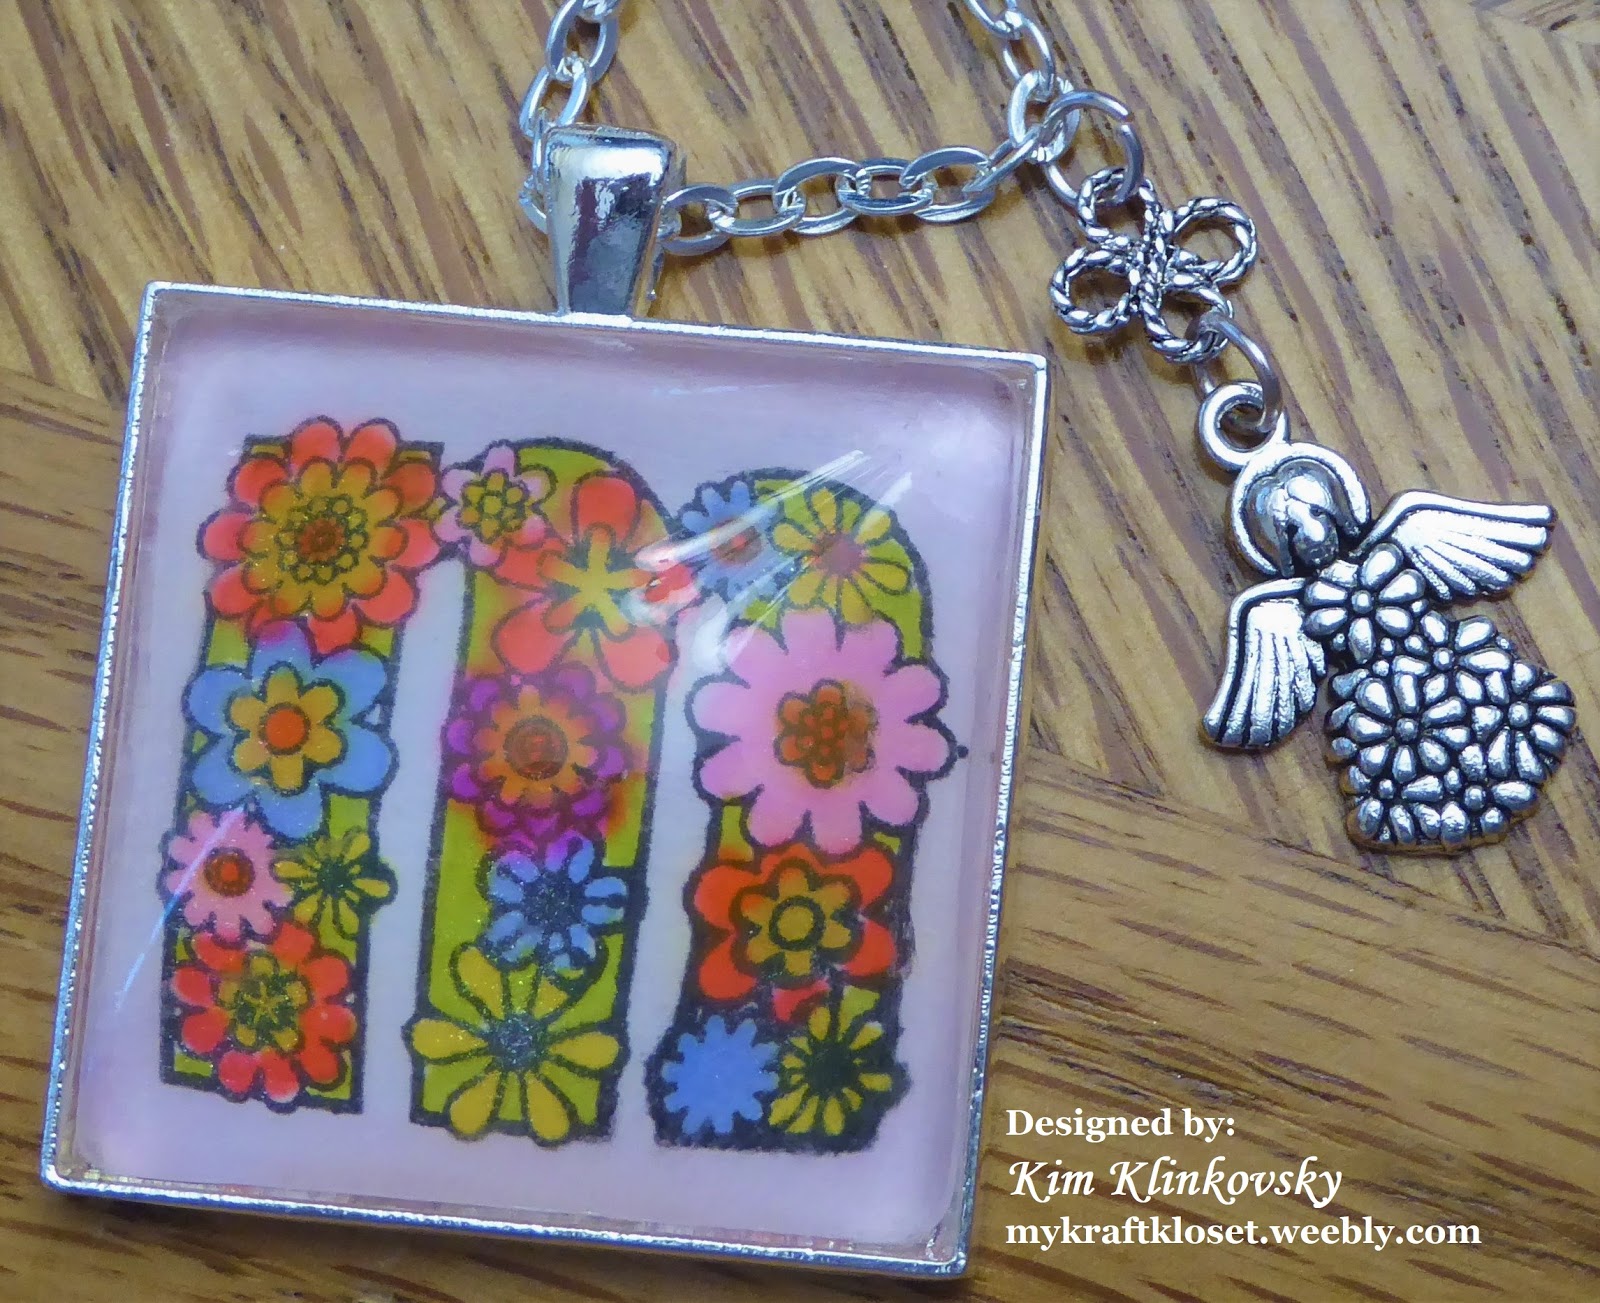
Hi everybody! Kim here from My Kraft Kloset sharing a special monogrammed pendant I created using a clear alphabet stamp set and Craft Fantastic products for a personalized touch. See how easy it is to make a bunch of these in a flash for everyone on your list this holiday season. 


Let's get started...

Using an alcohol marker friendly ink, stamp your alphabet letter on thin white cardstock made for alcohol markers, so it won't bleed or peel apart. Color away using your favorite alcohol markers. And I allowed it to dry thoroughly overnight, so the color wouldn't bleed out of the edges. 

Tip: Using alcohol markers instead of water color markers, allows the color to set permanently, so the image won't bleed when you add the liquid Glaze & Glue over the top. 

Take an XL glass square, add several drops of Glaze & Glue and place over the stamped alphabet letter. Press gently and hold for a couple minutes until set. Wipe away any excess glue around the edges with a q-tip. Allow to dry for a few minutes. 

I chose this stunning XL antique silver tray for this project, but it does require several Super Sticky Dots for a secure hold with larger pieces. Remove red backing and place the alphabet glass image into the tray and press gently all over to set the corners and center for a secure fit. 

Added a couple of my favorite charms for a dash of good luck and a sparkle of holiday charm, that I attached with small jump rings and a pair of pliers. And added a stunning silver chain to complete this wonderful holiday gift. 

Voila! There you have a uniquely personalized holiday pendant that is sure to please anyone on your holiday gift giving list this season. I hope I've inspired you to play with your stamps and use them in your jewelry projects too! And be sure to check out our other charms and images to see what else you can make! 

Also take a peak at the new Kit-of-the-Month and other Kits to get a lot of projects made for the holidays or any upcoming special occasions at a reasonable price. The possibilities are truly endless with these amazing Craft Fantastic products! Leave us a comment and tell us what you think or what your making and share with us. Thanks for stopping by!

~Kim Klinkovsky @mykraftkloset


Supplies Used:
X LARGE GLASS SQUARES

Saturday, September 22, 2018

Meaningful Words Gift Ideas

Hi everybody! Kim here from My Kraft Kloset sharing a wonderful way to capture meaningful words that describe somebody special using these amazing antique silver pieces from Craft Fantastic.  With the holidays sneaking up on us, you maybe starting to think about special gifts you can make and these are very affordable. So, follow along as I show you a unique way to send a special message or express your feelings and capture them forever.


Let's get started...

1. Choosing from hundreds of Craft Fantastic images is always the hardest part. And usually you see my collage projects where I cut out 1-2 words, but for this project I chose to use a section of words already on the word collage sheet.


I made this necklace for my Aunt and these words were all very personal to me and very descriptive of her. But don't fret if it doesn't easily work out that way, you can certainly cut the words apart, group together, and glue onto another sheet and make a collage of something similar. 


2. I added a few drops of iridescent glitter glue to give it some sparkle. Allow time to dry so the glitter doesn't stick to your glass and obstruct your view of the words. Can you see the sparkles?


3. Once dry, add several drops of Glaze & Glue onto an XL Glass Round and place over the word image, and press gently for a few minutes until set. Wipe off any excess glue around the edges with a Q-tip. Allow a few minutes to dry.


4. Once dry, cut around the glass and cut out the word image. Next I chose a stunning XL antique silver tray to give it a classy timeless look.

I was going to add this small square image tray to this project too, which is why it's pictured here, but I changed my mind. Better to make too many choices than not enough. And I'll use it for another gift.


5. Adhere several Fantastic Super Sticky Dots to the tray, because you'll want to use more dots on the larger trays. Remove red sticky dot backings and place the glass word image in the tray. And press gently to set.


6. Repeat steps 3-5 above to create the letter "g" in this project, which reminds me of an old vintage typewriter text. Cool, right? Once dry, place glass letter image in this small, but very classy looking tray. And press gently to set.

7. Attach the silver angel wing charm with a small jump ring and pliers. And add all three pieces to a beautiful silver chain to complete.

These angel wings are one of my favorite charms. Aren't they beautiful? You've probably seen me use them on several of my projects. I just can't help it, they remind me of guardian angels watching over that special person. I just love them!

Voila! There you have an incredibly meaningful gift idea for that somebody special on your holiday gift giving list. I hope I've inspired you to use your words and spread kindness this Holiday Season and all year long!


Be sure to check out our *NEW* Designer Kits-of-the Month and get started early on a few custom gifts for all your upcoming special occasions. The possibilities are truly endless with these amazing Craft Fantastic products that help you personalize any project! Leave us a comment and tell us what you think or what your making and share with us.
Thanks for stopping by!

Saturday, May 26, 2018

Bridal Party Wedding Gifts

Hi everybody! Kim here from My Kraft Kloset sharing with you a few beautiful projects just in time for bridal season for some very special people you've asked to be a part of your wedding party. Show your bridesmaids just how special they are to you with these amazing gifts they will treasure for a lifetime.

Craft Fantastic products allow you to personalize each gift for each bridesmaid using their initials, birthstone, favorite color, a family tree for a sister, cousin or special family member, hearts, a Celtic type knot, roses, butterflies, angel wings and so many Charms to chose from to customize each bangle bracelet.


Let's get started:

1.  Choose from hundreds of Craft Fantastic images, which is always the hardest part, because they are amazing. But for this project I wanted something vintage and traditional and selected the initials of each bridesmaid with these wonderful alphabets: TINY ALPHABET #1 all tiny jeweler's glass sizes and TINY ALPHABET #2 all tiny jeweler's glass sizes. 


2.  Add a few drops of Fantastic Glaze & Glue on the back of a mini glass round and press gently onto an alphabet image for a few minutes until set. Wipe off any excess glue around the edges with a Q-tip.


3.  Once dry, cut around the glass and cut out the alphabet image. 

4.  Adhere a Fantastic Super Sticky Dot to a chosen tray. Remove red sticky dot backing and place glass alphabet into a silver or antique brass tray, as shown below. If your using a tiny or mini bling, like these "birthstones" then there is no need for glue, just adhere the bling directly onto a tray with a super sticky dot. 


5.  As you can see above, some of the tiny trays have circles on each end. One to hang special Charms from with jump rings and the other to attach with another jump ring to slide onto a bangle. Add a tiny bling of color in the center to match their birthstone. 

Add a special note, like this one below, that I typed up on my computer and printed on cardstock to accompany each treasured gift. And don't forget the bride, make one for yourself with a little something old, new, borrowed or blue too!


Bangles are so pretty alone or stack a few of them together and have some fun.


See how lovely these are in antique brass with these Charms: Celtic type knot, tree of life from nature set, heart, dragonfly, butterfly, and a cute little button.


Voila! There you have several uniquely personalized gifts to say "thank you" to those special people who've decided to stand beside you and your groom on your special day. They will love these! I do! Don't you?

Be sure to check out our *NEW* Designer Kits-of-the Month and get started on a few custom gifts for all your upcoming special occasions. And keep a few for yourself too, because they are stunning! The possibilities are truly endless with these super fantastic products! Leave us a comment, we'd love to hear what you think. Thanks for stopping by!

Kim Klinkovsky @mykraftkloset


Supplies Used:
Qtips

Thursday, March 15, 2018

Butterfly Wishes

Hi everybody! Kim here from My Kraft Kloset and Spring is nearing my neck of the woods with flowers and trees blooming, warm air is returning, and soon the butterflies will too! Which inspired me to create these gorgeous butterfly projects with Craft Fantastic products that I'm sharing with you today. These images are wonderfully detailed and so very colorful for any occasion and see how to personalize with collage words too!


Let's get started:

1.  Choose from hundreds of images and click on the links and follow along. Today we're using Butterflies and Collage Words. Choose your butterfly and a word, cut it out, add a drop of Fantastic Glaze & Glue on the back of the word, and adhere to the butterfly image. You have a little time to move it around in place and position it just where you want it. Wipe away any excess glue, and allow a couple minutes to dry.


2.  Once dry. Add a few drops of Fantastic Glaze & Glue on the back of an X Large Glass Squares and press onto the whole butterfly image until set. Wipe off any excess glue around the edges with a Q-tip.


3.  Cut around the glass and cut out the image.

4.  Because this piece is Extra Large, adhere glass images with several Fantastic Super Sticky Dots. About 4-5 dots are recommended.

5.  Remove red sticky dot backing and place glass image into an Extra Large Square Silver Tray.

Just add a chain and here's a close up of this gorgeous butterfly collage pendant. 


My next project is this stunning monarch butterfly pendant.


Follow the same Steps 1-5 above, but we're using the Extra Large Glass Rounds and the Extra Large Round Trays in Silver or Antique Brass. I love them both, don't you?


Here is a closer look. I love the script background, the realistic details, and you could certainly add some sparkle, but it's pretty stunning just by itself. Just add a chain and your complete.


Voila! There you have a few unique gorgeous pendants ready as special gifts for upcoming events like Mother's Day, Graduation, or Weddings. Or keep a few for yourself with just a few supplies. The possibilities are truly endless! Thanks for stopping by!

Kim Klinkovsky @mykraftkloset

Saturday, January 20, 2018

Valentine Treat Boxes

Hi everybody! Kim here from My Kraft Kloset sharing a couple of sweet treat boxes you can make in a flash with just a few craft supplies and these wonderful products from Craft Fantastic.  If you make or buy sweets for the kids to take to school, give your family a little surprise, or maybe share treats with friends and co-workers, you are sure to please with these sweet treats for Valentine's Day.


I started with an empty paper towel holder cut in half to give me two pieces for my treat boxes. Because I like to upcycle, but you could use cardstock with this free printable template to cut out your own box that measures about 6 x 4."  Or if you have a pillow box die cut or SVG that will do too.


I used 6 x 6" polka dot patterned paper, cut down to 6 x 4", wrapped around and adhered to the paper towel holder with sticky dots. Then used the remaining 2 x 6" strip to wrap around the centers of the holders and adhered with sticky dots too.  Add ribbon (as shown in pic 1 above).


To make Craft Fantastic glass pieces for projects, follow these 3 basic steps: 

1.  Choose from hundreds of images. Add several drops of Fantastic Glaze & Glue on the back of an appropriate sized Glass you've chosen. Press on image until set. Wipe off any excess glue with a Q-tip.

2.  Cut around the glass and cut out the image.

3.  Adhere glass images and patterned paper with Fantastic Super Sticky Dots.

And you can find more details on how I made these glass pieces sparkle here. 


I felt like the glass pieces still needed something...so I did what I do...I layer!!!  And I adhered them to larger images with sticky dots to make them pop.  And pop they did.  Don't you think?  Cut out the images.  Adhere the whole piece to the treat box with sticky dots. Push in and pinch the ends to close. And I added a Valentines sticker to the back.


Add some candy and you're ready to surprise your loves with these sweet treat boxes for Valentine's Day or any special day throughout the year!


Thanks for stopping by!  XOXO

Kim Klinkovsky @mykraftkloset 

Saturday, July 22, 2017

Butterflies and Paris Retro Bracelet

Hi everybody! Kim here from My Kraft Kloset sharing a special gift that I made for my mother, because she loves color, flowers, butterflies,  and wanted something Paris inspired.  I think I delivered with the help of these gorgeous images and antique brass products which are on sale in the July Kit-of-the-Month from Craft Fantastic.  


Let’s get started: 


2.  Choose your images. That's the hardest part. All of these are just so stunningly beautiful and you want to use them all. But for this project I chose 4 butterflies and 4 Paris images to balance out the bracelet.  


3.  Next I chose this retro round bracelet kit in antique brass because it really gave the images a vintage look. Add a few Fantastic Glaze & Glue droplets onto the back of each glass round circle and place over each image.  Move your glass around to position your image, and add a little pressure to get any bubbles out.  Repeat. For a total of eight images. 

4. Once set, use a Q-tip to remove any excess glue around the edges of the glass. Cut around the glass and cut out each image.   


6. Add a Fantastic Super Sticky Dots to the bracelet tray, peel off red backing, place the glass into each of the trays, one by one, and press down to secure in place. 


Voila! A spectacular one of a kind handmade bracelet with a vintage retro look that I’m sure my mom is bragging about to all of her neighbors.  Thanks, Mom!


I hope I’ve inspired you to try a Monthly Kit and make all kinds of wonderful Craft Fantastic products, like the retro bracelet I made from the July Kit above. The possibilities are truly endless!   

Please leave us a comment and let us know what you think, we’d love to hear from you.  Thanks for stopping by!  

~Kim Klinkovsky @mykraftkloset