Showing posts with label small round pendent trays. Show all posts

Saturday, September 22, 2018

Meaningful Words Gift Ideas

Hi everybody! Kim here from My Kraft Kloset sharing a wonderful way to capture meaningful words that describe somebody special using these amazing antique silver pieces from Craft Fantastic.  With the holidays sneaking up on us, you maybe starting to think about special gifts you can make and these are very affordable. So, follow along as I show you a unique way to send a special message or express your feelings and capture them forever.


Let's get started...

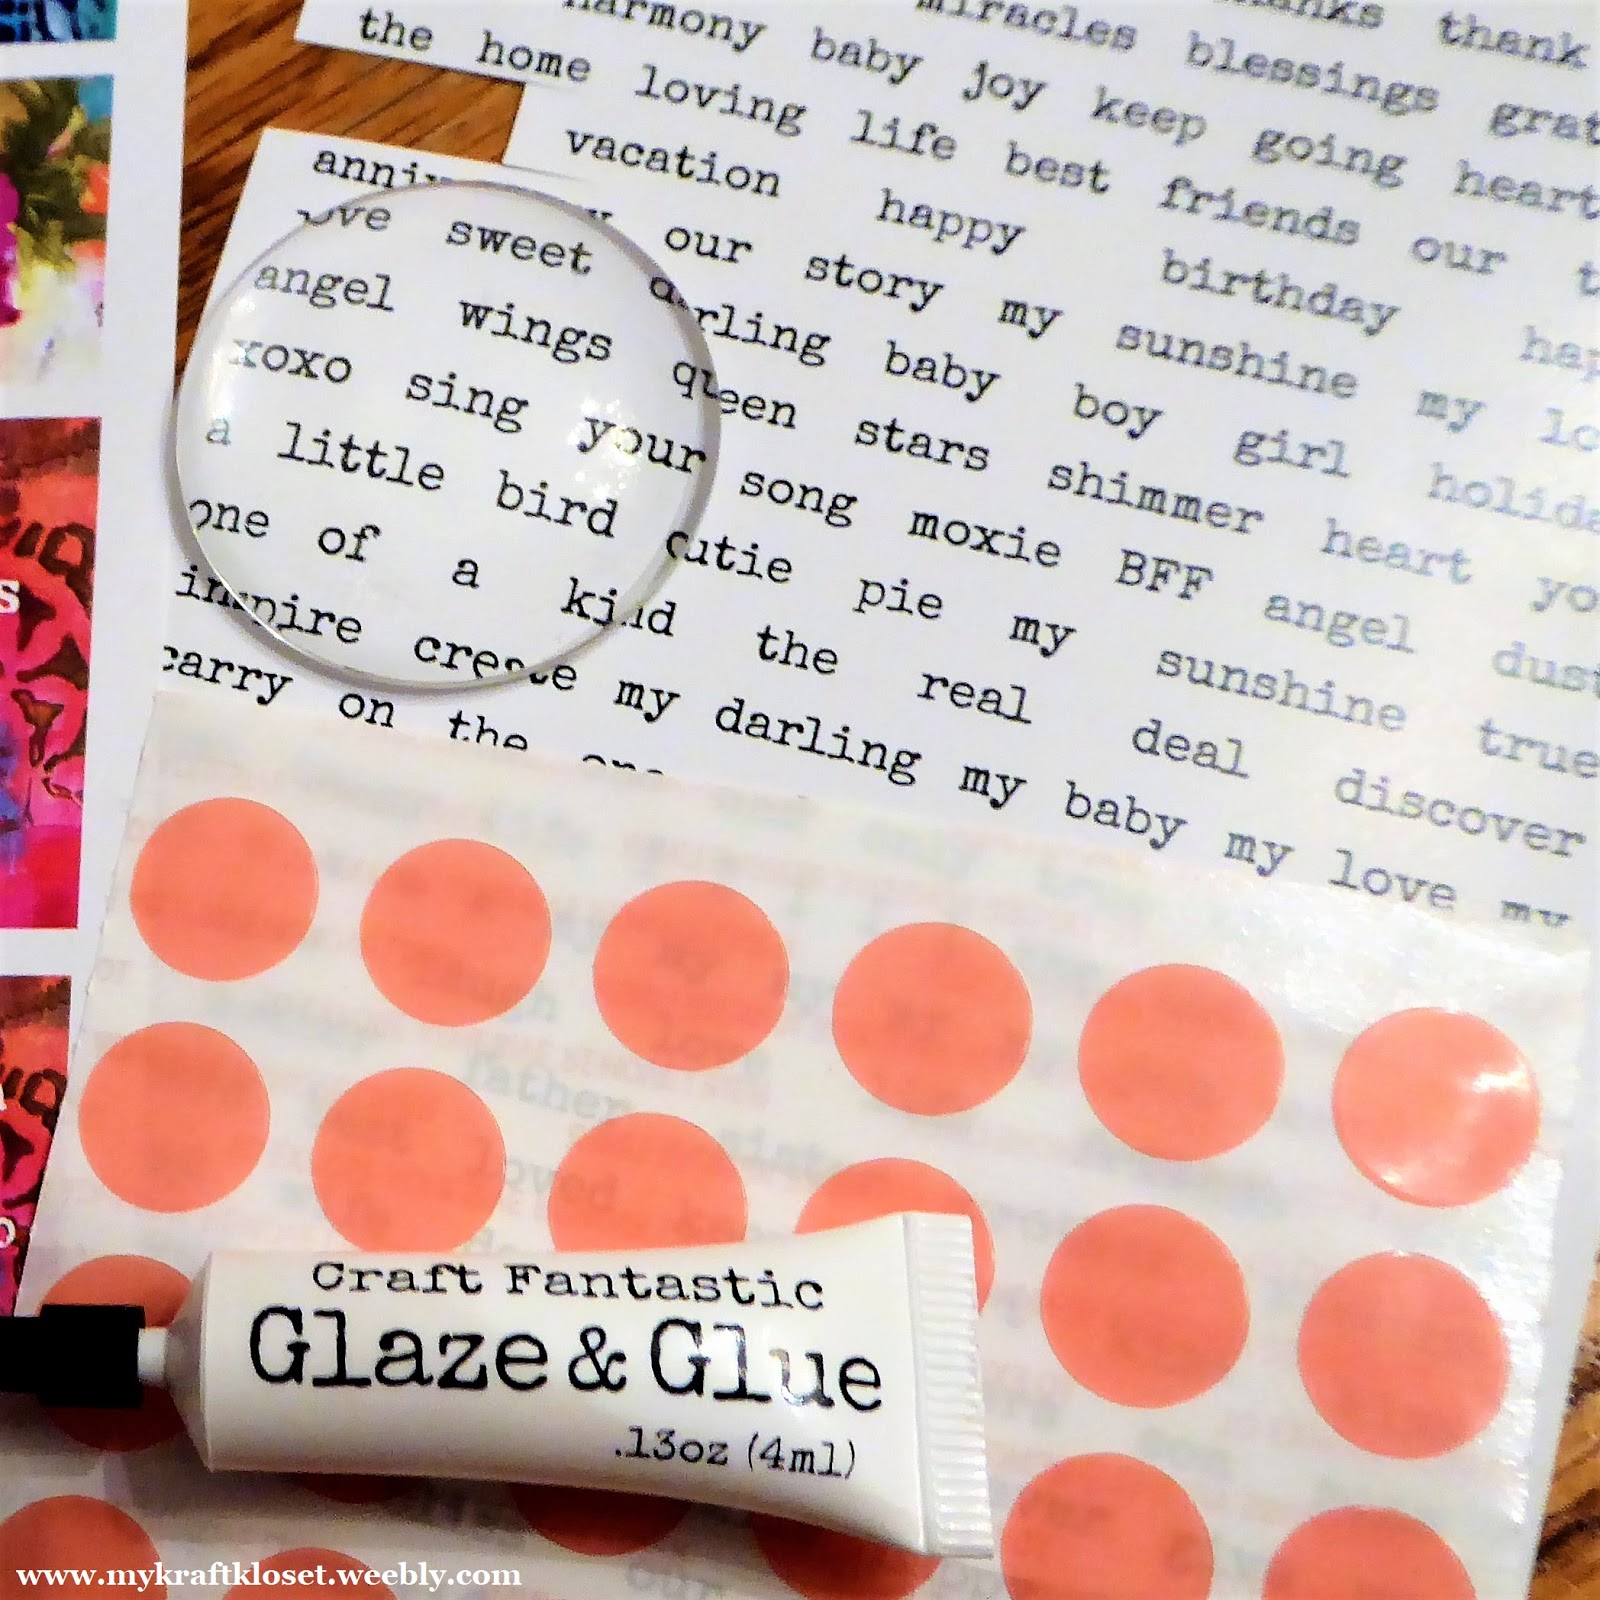
1. Choosing from hundreds of Craft Fantastic images is always the hardest part. And usually you see my collage projects where I cut out 1-2 words, but for this project I chose to use a section of words already on the word collage sheet.


I made this necklace for my Aunt and these words were all very personal to me and very descriptive of her. But don't fret if it doesn't easily work out that way, you can certainly cut the words apart, group together, and glue onto another sheet and make a collage of something similar. 


2. I added a few drops of iridescent glitter glue to give it some sparkle. Allow time to dry so the glitter doesn't stick to your glass and obstruct your view of the words. Can you see the sparkles?


3. Once dry, add several drops of Glaze & Glue onto an XL Glass Round and place over the word image, and press gently for a few minutes until set. Wipe off any excess glue around the edges with a Q-tip. Allow a few minutes to dry.


4. Once dry, cut around the glass and cut out the word image. Next I chose a stunning XL antique silver tray to give it a classy timeless look.

I was going to add this small square image tray to this project too, which is why it's pictured here, but I changed my mind. Better to make too many choices than not enough. And I'll use it for another gift.


5. Adhere several Fantastic Super Sticky Dots to the tray, because you'll want to use more dots on the larger trays. Remove red sticky dot backings and place the glass word image in the tray. And press gently to set.


6. Repeat steps 3-5 above to create the letter "g" in this project, which reminds me of an old vintage typewriter text. Cool, right? Once dry, place glass letter image in this small, but very classy looking tray. And press gently to set.

7. Attach the silver angel wing charm with a small jump ring and pliers. And add all three pieces to a beautiful silver chain to complete.

These angel wings are one of my favorite charms. Aren't they beautiful? You've probably seen me use them on several of my projects. I just can't help it, they remind me of guardian angels watching over that special person. I just love them!

Voila! There you have an incredibly meaningful gift idea for that somebody special on your holiday gift giving list. I hope I've inspired you to use your words and spread kindness this Holiday Season and all year long!


Be sure to check out our *NEW* Designer Kits-of-the Month and get started early on a few custom gifts for all your upcoming special occasions. The possibilities are truly endless with these amazing Craft Fantastic products that help you personalize any project! Leave us a comment and tell us what you think or what your making and share with us.
Thanks for stopping by!

Saturday, March 31, 2018

Oh Baby Spring Showers

Hi everybody! Kim here from My Kraft Kloset and Spring is finally here and that means so are babies. As two of my four kids where born in Spring months, which inspired me to create these fun projects with Craft Fantastic products.  Surprise the Moms-to-be, the new Grandma's, or surprise your guests with a baby gender reveal party with these fun images.


Let's get started:

1.  Choose from hundreds of Craft Fantastic images or print your own on regular copy paper, from internet images, like I did today for these baby shower images. More printing tips "here."


2.  Add a few drops of Fantastic Glaze & Glue on the back of small glass rounds and press gently for a few minutes until set. Wipe off any excess glue around the edges with a Q-tip.


3.  Once dry, cut around the glass and cut out the image. Copy paper is thinner than the special paper Craft Fantastic uses for it's images, so you may want to add more Fantastic Glaze & Glue on the back of the glass image to make it stronger. Tips on Printing at home on copy paper "here"

4.  Adhere a Fantastic Super Sticky Dot. Add more dots if your tray is larger. Remove red sticky dot backing and place glass image into a SMALL ROUND PENDANT TRAY silver

5.  Just add a Chain to complete. 

How to create a fun Gender Reveal Party Game:
These are so affordable you can make a whole bunch of images in pink and blue and have every guests choose a color. Then reveal if the baby is a boy or a girl and see which color wins. And everybody goes home with a uniquely handmade party favor and wonderful memories! Make extra's if somebody wants to trade. 

Is it a Boy???


Or Is it a Girl???


Make a few special pendants for the Mom-to-be and the new Grandma's too. I love these Craft Fantastic images with hearts, roses, and a tiara. Fit for a princess or queen. And they will LOVE them too!


Voila! There you have a few unique pendants ready for special gifts for a Baby Shower or Mother's Day gifts too. The possibilities are truly endless with these fun products!
Thanks for stopping by!

Kim Klinkovsky @mykraftkloset

Thursday, February 15, 2018

Live Love Inspire

Hi everybody! Kim here from My Kraft Kloset sharing this inspiring silver necklace created with a special message that is sure to please anyone with these wonderfully creative products from Craft Fantastic.  A beautiful mix of spring colors that make great gifts for any upcoming occasions you can personalize with a mix of special words, hearts, symbols, monograms and more. 


To make Craft Fantastic glass pieces for projects, follow these 4 basic steps: 

1.  Choose from hundreds of images. Add a few drops of Fantastic Glaze & Glue on the back of the Small Glass you've chosen. Press on image until set. Wipe off any excess glue with a Q-tip.

2.  Cut around the glass and cut out the image.

3.  Adhere glass images and patterned paper with Fantastic Super Sticky Dots.

4. Remove red sticky dot backing and place glass image into the Small Silver Tray.


Look at these sheets of watercolor images and inspiration images. I just love them. So fun right? They are so colorful and inspiring for so many different combinations. Have fun making a whole bunch of these, share with friends, or change them up each day to reveal a new message.


Add a beautiful chain and here's a close up to live, love, and inspire.


Voila! And there you have an inspirational and unique special gift. Or make a bunch for yourself and share a new message each day. Try a Kit of the Month and get everything you need to get you started. The possibilities are truly endless! Thanks for stopping by! 

Kim Klinkovsky @mykraftkloset

Saturday, June 3, 2017

Watercolor Cards with Glass Trays

Hello everyone!!  Kymona here from Kreative Kymona to share a couple of watercolor cards with glass trays attached that could be used as charms or necklaces in the future.

Watercolor is my favorite medium and I wanted to demonstrate that by creating a card to go with Craft Fantastic Mini Round Pendent Trays.   I used the images from May's Watercolor Kit to create my charms.  Those images from that kit are totally awesome and my favorite. I can see me using them over and over again to create wonderful pieces. 

Take a look at what I create:


Breathtaking right!!! All of the aspects of the card makes me smile.  The charm balances out the sentiment and the watercolor gives the card life!!

I couldn't just make one, check out the rest of my cards:


I'm so tickled by these cards!!  They were fun to make and I hope the recipients love them as well!!

Here's how I created the charms:

1. I selected the images from the Watercolor Inspiration image sheet. 
2. I added glue to the Mini Round Glass and place it on top of the image.
3. Then I placed a super sticky dot in each of the Mini Round Pendant Trays.
4. Once the glued dried, I wiped away any excess and cut around the glass to get rid of the extra paper.
5. Then I placed the glass in the tray!

For the two cards that have an extra charm, here is how I added those:

1. I two multi purpose jewelry pliers and attached the charms to the glass trays with a small jump ring. 

For the watercolor panel, I simple wet the front with some water and added the different watercolor to the panel.  The colors spread and dried to what you see above.  I trimmed each panel and adhered them to the black card base. 

I used sliver elastic string to attach the charm to the card.  The charm isn't attached to the card front, it will slide on the elastic when you move it. 

The recipient can take the charm off of the card and use it for a necklace or a charm for a planner.

So what do you think?  Aren't these watercolor cards with glass trays beautiful? Please let me know below.  I would love to hear from you!!

Just in case you didn't know you can find Craft Fantastic on all of the social media platforms:

Facebook  ~  Instagram  ~  Pinterest  ~  Twitter  ~  Blog


Follow so that you don't miss out on any of the creative ideas, deals and new goodies that appear in the store.

Thank you so much for stopping by!!