Showing posts with label necklace. Show all posts

Thursday, February 15, 2018

Live Love Inspire

Hi everybody! Kim here from My Kraft Kloset sharing this inspiring silver necklace created with a special message that is sure to please anyone with these wonderfully creative products from Craft Fantastic.  A beautiful mix of spring colors that make great gifts for any upcoming occasions you can personalize with a mix of special words, hearts, symbols, monograms and more. 


To make Craft Fantastic glass pieces for projects, follow these 4 basic steps: 

1.  Choose from hundreds of images. Add a few drops of Fantastic Glaze & Glue on the back of the Small Glass you've chosen. Press on image until set. Wipe off any excess glue with a Q-tip.

2.  Cut around the glass and cut out the image.

3.  Adhere glass images and patterned paper with Fantastic Super Sticky Dots.

4. Remove red sticky dot backing and place glass image into the Small Silver Tray.


Look at these sheets of watercolor images and inspiration images. I just love them. So fun right? They are so colorful and inspiring for so many different combinations. Have fun making a whole bunch of these, share with friends, or change them up each day to reveal a new message.


Add a beautiful chain and here's a close up to live, love, and inspire.


Voila! And there you have an inspirational and unique special gift. Or make a bunch for yourself and share a new message each day. Try a Kit of the Month and get everything you need to get you started. The possibilities are truly endless! Thanks for stopping by! 

Kim Klinkovsky @mykraftkloset

Thursday, May 12, 2016

Chunky Bracelet Chain


We sometimes receive requests to carry a chunkier chain. While we love the dramatic look of a bigger chain, we hesitate to add one to our product line. Primarily because our pendant bails on our basic trays would not easily slide on and off. A large jump ring would accommodate the pendants that contain a flat loop, but our beautiful pendant trays with the lovely pendant bails would not work with them. It would be a crime.

However, now that we're carrying these new charm bracelets, it's easy to create a fresh, chunky chain just by stringing them together! Gather round Crafty Friends, this is going to be a quick tutorial! If you blink, you'll miss it! 

Let's get started...

What You'll Need

Craft Fantastic Charm Bracelets (3 or 4) - It depends on the desired length. I wanted something long and stylish for my samples so I opted for 4.

Pliers

Scissors (not pictured) 


As I said, this is going to be a lightening fast tutorial!


Our new Charm Bracelets have an adorable ball dangle at the end, which makes for a lovely detail on the bracelet, but not so much for our chain. I clipped the dangles off easily using a pair of scissors. 


I've removed the dangles from my bracelets and now I'm ready to string them together.


I attach a lobster clasp from one end of a bracelet to the exposed jump ring of another bracelet. I do this with all four bracelets.


VOILA! I like the substance of this chain and I even like the detail of the lobster clasps. They provide an edgy, modern appeal. Plus I have the flexibility of using the bracelets again later as bracelets if I so desire. I could easily remove the lobster clasps and attach them with small jump rings if I wanted to give the chain a cleaner look and I knew I was only going to use it as a necklace. 


The chain looks pretty great as is and a large jump ring will allow the addition of a tray with a flat loop to slide right on. HOWEVER, for something even more stylish, I added a large jump ring to the small jump ring of one of the bracelets, along with a couple of our fabulous pendant trays and attached the lobster clasp directly to the large jump ring. This creates an elegant long piece (which I adore)!  


Now that is a good looking piece of jewelry! Substantial and rich! The addition of the Extra Large Round Tray and Small Round Tray is perfectly balanced by the chain and doesn't overwhelm it. 


Here's a version in silver using our new Grand Cross. I added a small glass round that I created using the Faux Turquoise Water Marbling Technique I featured in a previous post. This piece really speaks to me as it is reminiscent of New Mexico art, sky, and terrain. The Southwestern style of using silver and turquoise together is sort of our state's notable jewelry collaboration. You can tell I love the Land of Enchantment :) 


A closer look!


Four bracelets strung together create a necklace approximately 32" long, three bracelets create a necklace approximately 26" long. Do you want to wear it long one day and short the next? No problem! Just remove one bracelet! Want to wear one of the bracelets as an actual bracelet? Again, not a problem! I guess you could consider this a truly convertible piece!

I'll be honest. I really love the bohemian look of the longer pieces layered together with shorter pieces. Sort of like the wearer just threw them on with carefree abandon, but the layers come together to create something artsy and original. Now that I'm thinking about it, these longer chunky necklaces would be perfect with our Faux Leather Cords!

I hope you're as excited about this alternate use for the Charm Bracelets as I am! Be sure to follow us on the Craft Fantasic FACEBOOK PAGE, sign up to receive our monthly NEWSLETTER, and subscribe to the BLOG (in the sidebar) so you never miss a post. We frequently host giveaways, share project ideas, feature customer creations, provide product sneak peeks and MORE on all of our social media sites!

See you next time with something new and CRAFTY!


Wednesday, April 20, 2016

Working with Modular Trays!


Have you been poking around the Craft Fantastic online shop lately? Well, you should because there are LOTS of new items waiting for some crafty attention from talented crafters like you! 

One of my favorites from the new additions are the Modular Trays. They are the most flexible jewelry findings I've ever worked with. The trays are lightweight and low-profile, not adding any bulk to the glass as you're creating your piece. The edge consists of tiny loops that are easily bent to accommodate jump rings and pinch bails, allowing you to link them together or hang small charms and beads from them. My head is swarming with ideas!

Today I'm featuring a fairly simple project using these new trays. I will walk you through the basics, but at the end of the process we'll have a pretty fabby completed piece.

Let's get started...

What You'll Need


Scissors 


Looks pretty similar to the supplies used in other projects, but wait until you see the end results!


The magic is in the loops! This tiny lacy detail allows you to turn them into bracelets, earrings, extravagant necklaces, the list goes on and on. 


I start by adding a jeweler's dot or two to each of my trays. The tiny trays are very petite so a dot cut into quarters does the trick.


I made up my glass pieces earlier using images from the Porcelain Art Image Sheet. I actually used images from two of these sheets so that I could create a symmetrical pattern. Here I've laid out my trays in the configuration of my necklace. I find that it's easier to string the trays together before I add the glass. This allows me to have complete control over which loops I use for the jump rings instead of letting my images dictate the loops used.


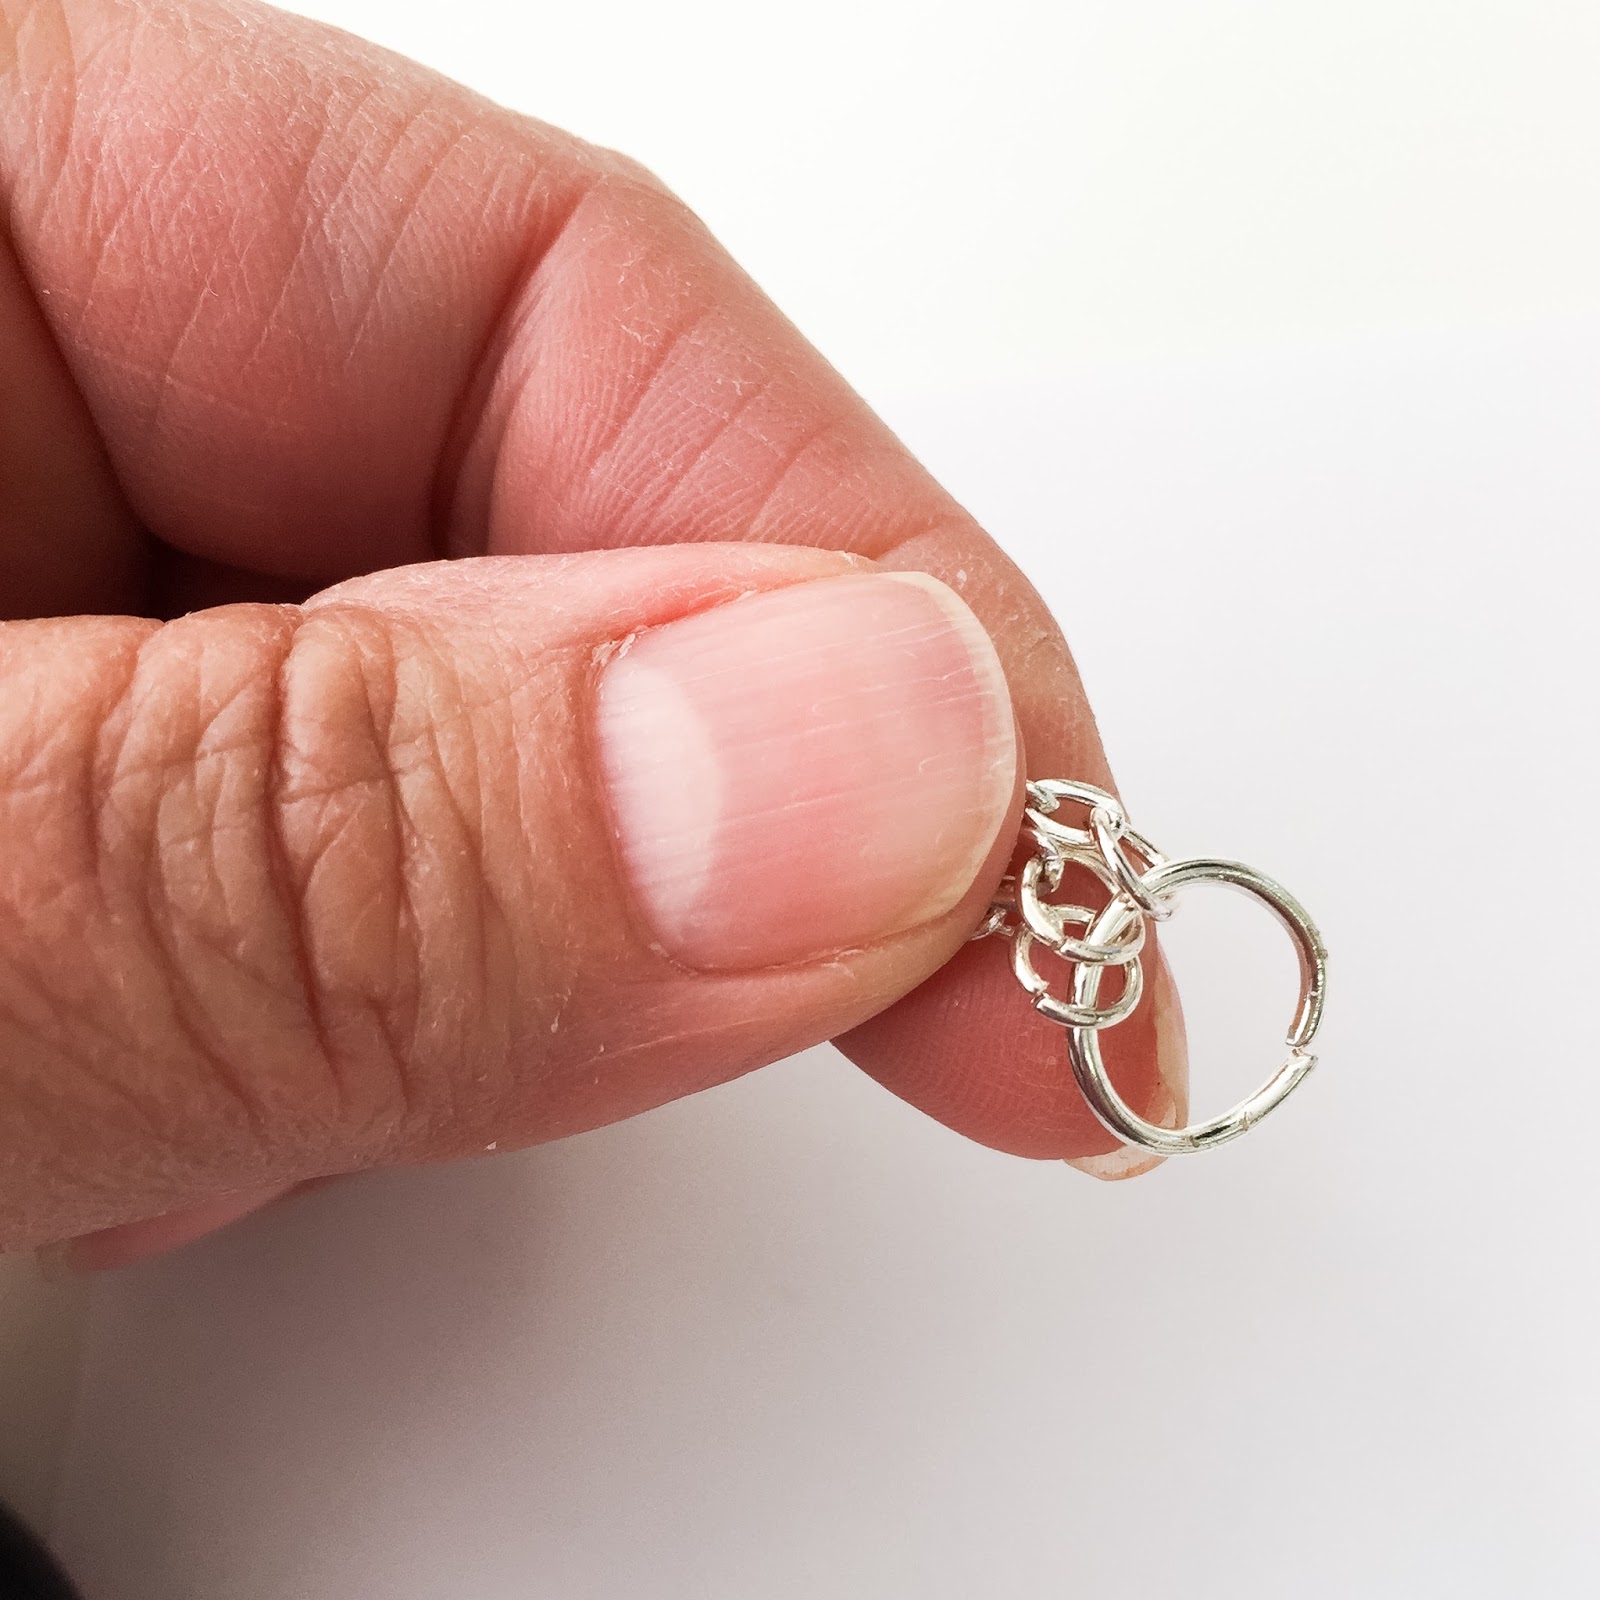
I use a pair of pliers to gently bend back one of the loops that will accommodate a small jump ring.


Here I've selected my loops on my large round modular tray and bent them out.


After selected and bending back the loops on each tray, I string them together using small jump rings. 


Next, I add my glass pieces. My necklace is really starting to take shape now.


I remove the clasps and jump rings from each end of my three rolo chains. These jump rings are slightly smaller than the jump rings that I will be using in the rest of my project. It's a small detail, but I like the consistency, so I replace them all. 


I add new small jump rings to the end of each chain.


Then I string one end of each of the three rolo chains onto a large jump ring. I do the same with the other ends of the chains.


Next I attach the large jump ring to one end of my linked modular trays using a small jump ring and do the same on the other end.


I split the center of the backs of the chains using a pair of scissors. This is the point farthest from the modular trays.


I measure out 7" and carefully trim off the excess from the end of each chain. If you want to be more precise, you can count the number of links on each of the chains to ensure they are of equal length. I would normally do this, but today I opted for quickly measuring, cutting, and praying that I got them right. PHEW! Today it worked out, sometimes it doesn't. 


I've trimmed my chains.  I'm almost done! WOO HOO! 


The final step is to add small jump rings to the end of each chain and string them onto a large jump ring. On one end I attach one of the lobster clasps that I removed earlier, with a small jump ring. Now I'm all done and ready to show off the finished piece!  


Pretty swanky! This would make for a lovely Mother's Day gift!


I left the remaining loops standing straight up on each tray and I have to say that I prefer it this way.


If you like a tighter finish, gently bend each loop over the glass, as I've done for this photo. It's really just a matter of preference. 


Did you like today's project? I hope it inspires you to take these fabulous trays for a spin and see where your inner creative tour guide leads you. They're very easy to work with, yet they allow you the freedom to have fun and think outside the (jewelry) box. Share pictures of your designs with me on the Craft Fantastic Facebook page. I love to see what you're working on!

Like this post? Sign up in the side bar to receive blog updates right to your IN BOX and you'll never miss out on the projects and techniques I share each week.

Need even MORE Craft Fantastic news? Sign up for our MONTHLY NEWSLETTER and you'll be part of the VIP crowd. Receive special offers and freebies only available to our newsletter subscribers!

See you next time with something NEW!