

Have you been poking around the Craft Fantastic online shop lately? Well, you should because there are LOTS of new items waiting for some crafty attention from talented crafters like you!
One of my favorites from the new additions are the Modular Trays. They are the most flexible jewelry findings I've ever worked with. The trays are lightweight and low-profile, not adding any bulk to the glass as you're creating your piece. The edge consists of tiny loops that are easily bent to accommodate jump rings and pinch bails, allowing you to link them together or hang small charms and beads from them. My head is swarming with ideas!
Today I'm featuring a fairly simple project using these new trays. I will walk you through the basics, but at the end of the process we'll have a pretty fabby completed piece.
Let's get started...
What You'll Need
Craft Fantastic Small Jump Rings - lots!
Scissors

Looks pretty similar to the supplies used in other projects, but wait until you see the end results!

The magic is in the loops! This tiny lacy detail allows you to turn them into bracelets, earrings, extravagant necklaces, the list goes on and on.

I start by adding a jeweler's dot or two to each of my trays. The tiny trays are very petite so a dot cut into quarters does the trick.

I made up my glass pieces earlier using images from the Porcelain Art Image Sheet. I actually used images from two of these sheets so that I could create a symmetrical pattern. Here I've laid out my trays in the configuration of my necklace. I find that it's easier to string the trays together before I add the glass. This allows me to have complete control over which loops I use for the jump rings instead of letting my images dictate the loops used.

I use a pair of pliers to gently bend back one of the loops that will accommodate a small jump ring.

Here I've selected my loops on my large round modular tray and bent them out.

After selected and bending back the loops on each tray, I string them together using small jump rings.

Next, I add my glass pieces. My necklace is really starting to take shape now.

I remove the clasps and jump rings from each end of my three rolo chains. These jump rings are slightly smaller than the jump rings that I will be using in the rest of my project. It's a small detail, but I like the consistency, so I replace them all.

I add new small jump rings to the end of each chain.
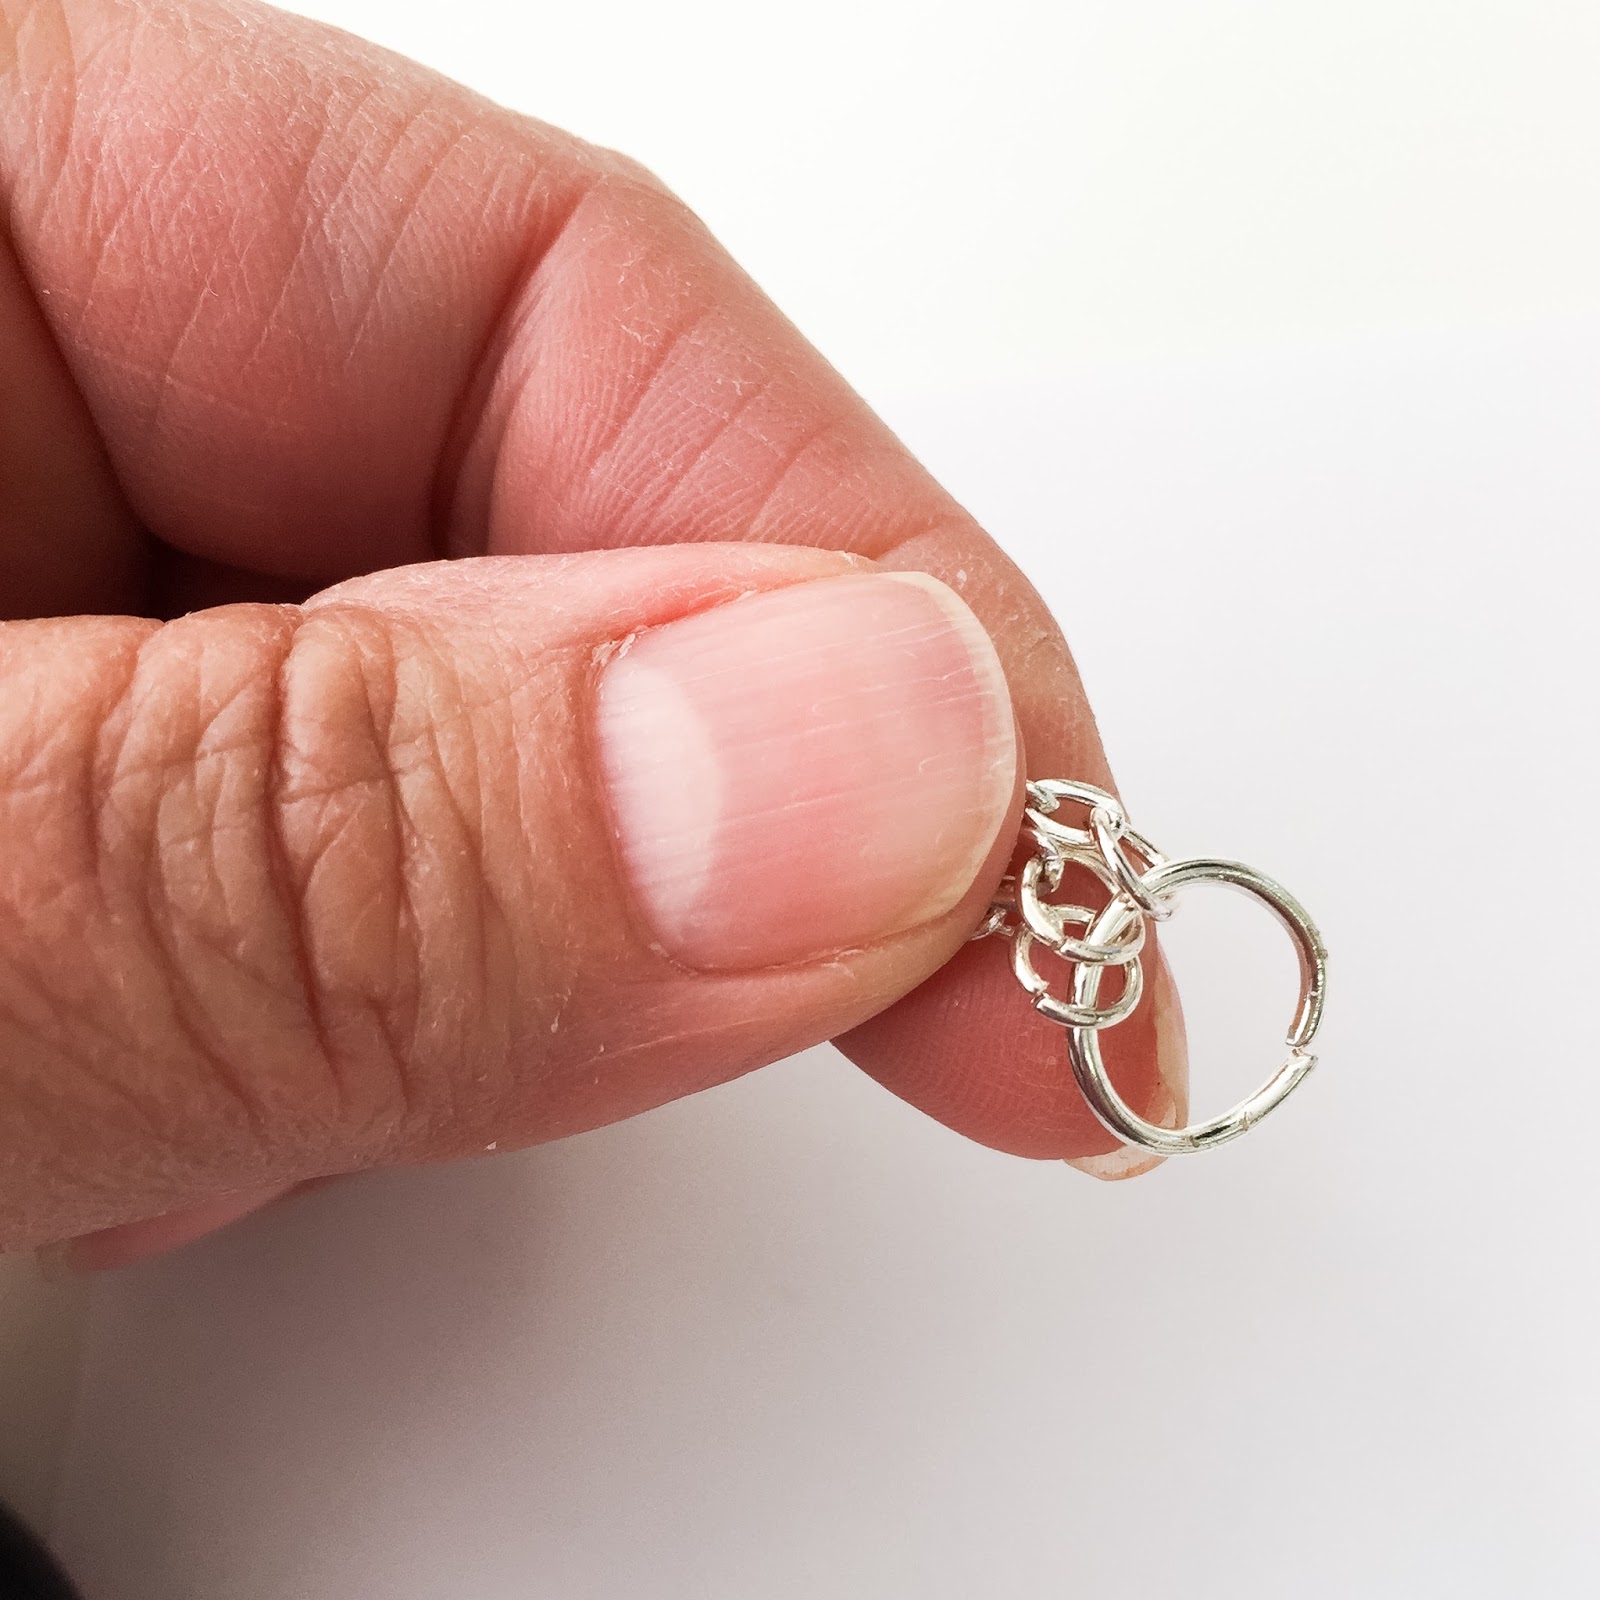
Then I string one end of each of the three rolo chains onto a large jump ring. I do the same with the other ends of the chains.

Next I attach the large jump ring to one end of my linked modular trays using a small jump ring and do the same on the other end.

I split the center of the backs of the chains using a pair of scissors. This is the point farthest from the modular trays.

I measure out 7" and carefully trim off the excess from the end of each chain. If you want to be more precise, you can count the number of links on each of the chains to ensure they are of equal length. I would normally do this, but today I opted for quickly measuring, cutting, and praying that I got them right. PHEW! Today it worked out, sometimes it doesn't.

I've trimmed my chains. I'm almost done! WOO HOO!

The final step is to add small jump rings to the end of each chain and string them onto a large jump ring. On one end I attach one of the lobster clasps that I removed earlier, with a small jump ring. Now I'm all done and ready to show off the finished piece!

Pretty swanky! This would make for a lovely Mother's Day gift!

I left the remaining loops standing straight up on each tray and I have to say that I prefer it this way.

If you like a tighter finish, gently bend each loop over the glass, as I've done for this photo. It's really just a matter of preference.
Did you like today's project? I hope it inspires you to take these fabulous trays for a spin and see where your inner creative tour guide leads you. They're very easy to work with, yet they allow you the freedom to have fun and think outside the (jewelry) box. Share pictures of your designs with me on the Craft Fantastic Facebook page. I love to see what you're working on!
Like this post? Sign up in the side bar to receive blog updates right to your IN BOX and you'll never miss out on the projects and techniques I share each week.
Need even MORE Craft Fantastic news? Sign up for our MONTHLY NEWSLETTER and you'll be part of the VIP crowd. Receive special offers and freebies only available to our newsletter subscribers!
See you next time with something NEW!
GORGEOUS statement piece!
ReplyDeleteLooks fabulous. I'll have to try these trays.
ReplyDeleteDo you have to solder the jump rings? If you don't, will they be secure?
ReplyDeleteLove this
ReplyDeleteBeautiful!!
ReplyDelete