Showing posts with label Kit. Show all posts

Wednesday, January 3, 2018

January 2018 Kit Assembly Instructions

 Introducing the NEW January Kit-of-the-Month! 

This Valentine's Day kit features two BRAND NEW Valentine Art Image Sheets using original artwork created by Craft Fantastic owner, Anne Engelhardt! An exclusive Heart Lock Charm plus our other favorite heart charms makes this kit super sweet! Create gifts for your crafty girlfriends or gift them a kit to create they're own LOVE-ly creations! 

Let's put these fabulous pieces together...

Assembly Instructions

Thanks for ordering the Craft Fantastic JANUARY KIT! This kit is available for a limited time. 
Click HERE to order yours today!  

Here's a few links to help you complete the projects followed by a few 
assembly instructions for each piece:


  1. Select an image and add it to the glass cabochon using Fantastic Glaze & Glue.   
  2. String the Long Rectangle Pendant Tray onto the 30" Fine Ball Chain. 
  3. Attach the Large Jump Ring to the bail of the tray.
  4. Attach the Heart Lock Charm to the Large Jump Ring using a Small Jump Ring.
  5. Add two Fantastic Sticky Dots to the tray. Remove the red backing to expose the adhesive. 
  6. Firmly press the cabochon into the tray. 


  1. Select an image and add it to the glass cabochon using Fantastic Glaze & Glue.   
  2. Remove the small jump ring from one end of the 30" Rolo Chain.
  3. Using scissors, cut a 6" of chain from the end and re-attach the small jump ring using pliers. 
  4. Close the chain and cut the center using a pair of scissors. 
  5. Attach a small jump ring to each of the cut ends of the Rolo Chain and attach both ends to the Ellipse Link. 
  6. Cut the 6" length of Rolo Chain into 3 pieces...one 1 1/4" long, one 1 1/2"long and one 2" long. Attach them to the Ellipse Link using Small Jump Rings placing the longest chain in the middle.
  7. Attach the Mini Round Twist Link Tray to the longest piece of chain using a Small Jump Ring. Attach the Cute Heart Charm to the bottom link of the Mini Round Twist Link tray also using a Small Jump Ring. 
  8. Attach the Heart Lock Charm and the Puffy Heart Charm to the two remaining pieces of chain using Small Jump Rings.
  9. Add a Fantastic Sticky Dot to the tray. Remove the red backing to expose the adhesive. 
  10. Firmly press the cabochon into the tray. 


  1. Select images and add them to the glass cabochons using Fantastic Glaze & Glue. 
  2. Attach the Small Round Charm Trays and the charms to the Charm Bracelet using small jump rings. I left 3 links in-between each of the trays/charms.
  3. Add a Fantastic Sticky Dot to each tray. Remove the red backing to expose the adhesive. 
  4. Firmly press the appropriate cabochon into each tray. 


  1. Select images and add them to the glass cabochons using Fantastic Glaze & Glue. 
  2. Attach a French Ear Wire to the top link of each Mini Round Twist Link Tray. 
  3. Attach a Puffy Heart Charm to the bottom loop of each tray using a small jump ring.
  4. Add a Fantastic Sticky Dot to each tray. Remove the red backing to expose the adhesive.
  5. Firmly press the appropriate cabochon into each tray.


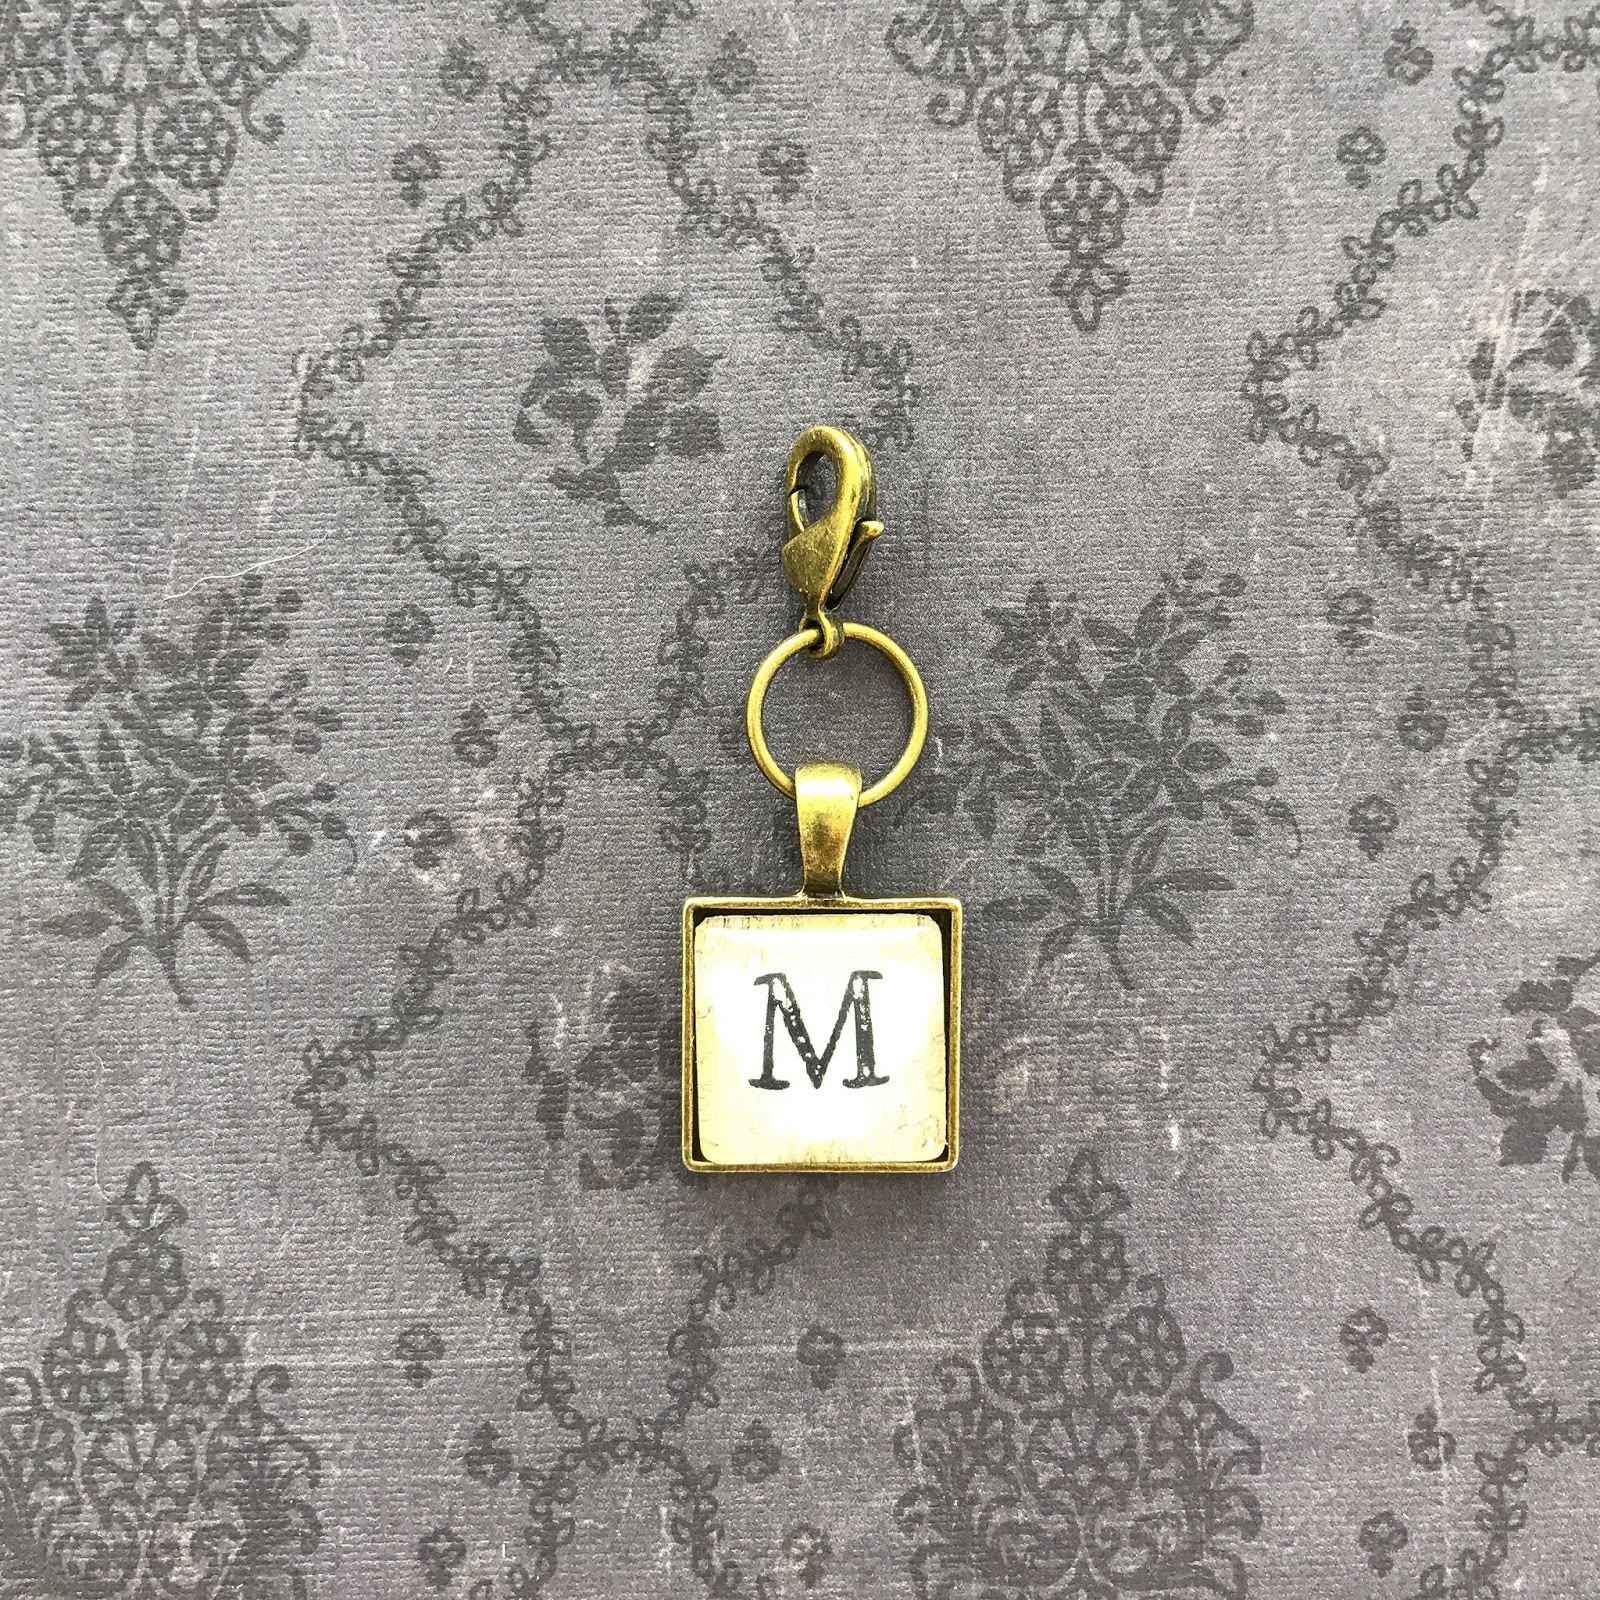
  1. Select image and add it to the glass cabochon using Fantastic Glaze & Glue. 
  2. Thread the key ring onto the key clip.
  3. Thread the bail of the Heart Pendant Tray onto the key ring.
  4. Add a Fantastic Sticky Dot to the tray. Remove the red backing to expose the adhesive. 
  5. Firmly press the cabochon into each tray. 
We hope you have fun putting together the JANUARY Kit-of-the-Month! Be sure to follow Craft Fantasic on FACEBOOK and INSTAGRAM! Also, sign up for the CRAFT FANTASTIC NEWSLETTER for the latest and greatest sales, giveaways and product peeks! 

See you soon with more crafty stuff!

Tuesday, August 8, 2017

August Kit Instructions

The August Kit-of-the-Month is ALL ABOUT GLASS BLING & DANGLE PENDANTS! 

Pendants dangling from Lobster Clasps allow the ultimate flexibility in style and function! Wear the three dangle pendants together for a showstopper piece with bohemian flair or just sport one for a more minimalist look! Add them to other Craft Fantastic pendants for an easy change-up! The possibilities are limitless! PLUS, there's bling! I truly can't keep my eyes off something shiny and these pieces will certainly turn heads for the very same reasons!

Let's put these gorgeous pieces together...

Assembly Instructions 

Here's a few links to help you complete the projects followed by a few 
assembly instructions for each piece:


  1. Cut the center of the 30" Rolo Chain using a pair of scissors or wire cutters.   
  2. Attach a Small Jump Ring to each end of the chain.
  3. String a Large Jump Ring through the Small Jump Rings.
  4. See individual instructions below for completing each Dangle Pendant.


  1. Select an image and add it to the glass cabochon using Fantastic Glaze & Glue.   
  2. Attach the Tiny Round Link Tray to the Mini Round Twist Link Tray using a Small Jump Ring.
  3. Attach the Knot Connector to the bottom of the Tiny Round Link Tray using a Small Jump Ring.
  4. Attach the Lobster Clasp to the top of the Mini Round Twist Link Tray using TWO Small Jump Rings. This will help the pendant lay properly when worn.
  5. Add a Fantastic Sticky Dot to the Mini Round Twist Link Tray. Add a Fantastic Sticky Dot that has been cut into 1/4 to the Tiny Round Link Tray. Remove the red backing to expose the adhesive. 
  6. Firmly press the appropriate cabochon into the Mini Round Twist Link Tray. Press the Tiny Round Glass Bling into the Tiny Round Link Tray.


  1. Select an image and add it to the glass cabochon using Fantastic Glaze & Glue.   
  2. Attach the Heart Charm to the bottom of the Tiny Round Link Tray using a Small Jump Ring.
  3. Attach the Lobster Clasp to the top of the Tiny Round Link Tray using TWO Small Jump Rings. This will help the pendant lay properly when worn.
  4. Add a Fantastic Sticky Dot that has been cut into 1/4 to the Tiny Round Link Tray. Remove the red backing to expose the adhesive. 
  5. Firmly press the cabochon into the tray. 


  1. Select an image and add it to the glass cabochon using Fantastic Glaze & Glue.   
  2. Attach the Lobster Clasp to the top of the Mini Square Pendant Tray using a Large Jump Ring. 
  3. Add a Fantastic Sticky Dot to the tray. Remove the red backing to expose the adhesive. 
  4. Firmly press the cabochon into tray. 


  1. Select images and add them to the glass cabochons using Fantastic Glaze & Glue. 
  2. Attach the Small Round Twist Link Trays together using small jump rings. 
  3. Attach the Lobster Clasp to one end using a Small Jump Ring.
  4. Attach the Large Jump Ring to the opposite end using a Small Jump Ring.
  5. Add a Fantastic Sticky Dot to each tray. Remove the red backing to expose the adhesive. 
  6. Firmly press the appropriate cabochon or gem into each tray. 


  1. Select an image and add it to the glass cabochon using Fantastic Glaze & Glue.  
  2. Run the 24" Rolo Chain through the bail. 
  3. Add two Fantastic Sticky Dots to the tray. Remove the red backing to expose the adhesive. 
  4. Firmly press the cabochon into the tray. 


  1. Attach a Knot Connector to the bottom of each Mini Round Twist Link Tray using a Small Jump Ring.
  2. Attach a French Ear Wire to the top link of each Mini Round Twist Link Tray.
  3. Add a Fantastic Sticky Dot to each tray. Remove the red backing to expose the adhesive. 
  4. Firmly press a Mini Round Glass Bling into each tray. 


  1. Select an image and add it to the glass cabochon using Fantastic Glaze & Glue.   
  2. Add a Fantastic Sticky Dot to the tray of the Mini Round Twist Ring. Remove the red backing to expose the adhesive. 
  3. Firmly press the cabochon into the tray. 
We hope you have fun putting together the AUGUST Kit-of-the-Month! Be sure to follow Craft Fantasic on FACEBOOK and INSTAGRAM! Also, sign up for the CRAFT FANTASTIC NEWSLETTER for the latest and greatest sales, giveaways and product peeks! 

See you soon with more crafty stuff!

Saturday, June 10, 2017

Charming Butterfly Bliss + Gifts

Hi everybody! Kim here from My Kraft Kloset sharing a beautifully personalized bracelet I made for my daughter's birthday using these gorgeous *NEW* butterfly images from Craft Fantastic.


 Let’s get started:


1.  Gather up all your supplies from these links: Faux Leather Bracelet Kit,  Cute Heart Charm and Wing Charm, Bright Butterflies image sheet, Fantastic Glaze & Glue, Q-tips, Fantastic Super Sticky Dots, and Multi Purpose Jewelry Pliers.


 2.  Choose your image. That's the hardest part with these gorgeous *NEW* butterfly images. So many colorful and detailed butterflies to choose from. Then I added these tiny "20" number stickers from my sticker stash (for my daughters birth date) and placed directly onto the butterfly image.

3.  Next add several Fantastic Glaze & Glue droplets onto the back of a glass circle (from the kit) and place onto the butterfly image. Move your glass around to position your image, and add a little pressure to get any bubbles out. Hold in place for a couple minutes to set and let dry.


 4.  Once set, use a Q-tip to remove any excess glue around the edges of the glass. Cut around the glass and cut out the image.  Place a Fantastic Super Sticky Dot to the silver round link tray (from the kit), peel off red backing, place glass into the tray, and press down to secure in place.

5.  Unhook the bracelet (from the kit), so you have two separate faux leather strap pieces. One at a time, push each strap through the side holes on the silver tray piece to create a loop.
(as shown above)


6.  Take the other end of the strap (the chain or lobster clasp ends) and insert through the loop, and pull tight. Repeat for other side. When finished it will look like the picture below.


Here is a close up. Gorgeous, isn't it? And the faux leather comes in assorted colors or all black kits. 


7.  As shown below: On the left side of the bracelet, where the chain meets the strap, use the pliers to open the first small silver loop from the chain (which is already part of the strap). Add the silver heart charm and close with pliers. On the right side of the bracelet, there is another small silver loop that is also part of the strap, just below the lobster clasp. Open the loop with pliers, add the silver angel wing charm, and close with pliers.


Voila! Another charming handmade jewelry piece that is super special for our daughter's birthday! I hope I’ve inspired you to try these wonderful Craft Fantastic products and try a kit, because the possibilities are truly endless!  

Please leave us a comment and let us know what you think, we’d love to hear from you. Thanks for stopping by!

~Kim Klinkovsky @mykraftkloset

Wednesday, March 1, 2017

March Kit Instructions


Thanks for ordering the Craft Fantastic MARCH KIT! This kit is available for a limited time. 
Click HERE to order yours today!  

Here's a couple of links to help you complete the projects followed by a few 
assembly instructions for each piece:


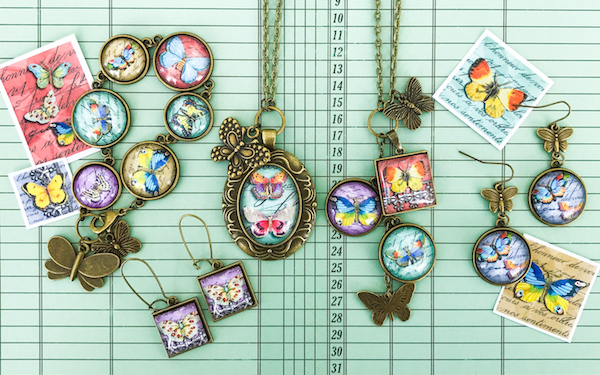
  1. Select images and add them to the glass cabochon using Fantastic Glaze & Glue.
  2. Using scissors cut the middle link of the 24" Rolo Chain.
  3. Using pliers, attach a small jump ring to each end of the Rolo Chain. String each end onto a large jump ring. Slide the Opera Tray on before closing. 
  4. Attach the Hobnail Butterfly Charm to the large jump ring using a small jump ring.
  5. Add a Fantastic Jeweler's Dot to the Opera Tray and remove the red backing to expose the adhesive.
  6. Firmly press the Medium Oval Cabochon into the tray. 


  1. Select images and add to the glass cabochons using Fantastic Glaze & Glue.
  2. Using scissors, cut the middle link of the 30" Rolo Chain. 
  3. Next, trim 3" of chain from each of the loose ends where you cut the middle link.
  4. You should have two 3" pieces of Rolo Chain. Take one of these pieces and trim it to 2 1/4" and set aside. Reserve the other piece for future projects.
  5. Using pliers, attach a small jump ring to each end of the original chain. String the small jump rings onto a large jump ring and close it with the pliers.
  6. Attach the Pinch Bail to the Small Square Charm Tray and add to the large jump ring.
  7. Attach the 2 1/4" piece of Rolo Chain to the large jump ring using a small jump ring.
  8. Attach the Cut Out Butterfly Charm to the bottom of this length of chain using a small jump ring. 
  9. Attach the 2 Small Round Charm Trays to the 2 1/4" length of Rolo Chain staggering them 3/4" apart using small jump rings. 
  10. Attach the Classic Butterly Charm 2 links above the large jump ring using a small jump ring. 
  11. Add a Fantastic Jeweler's Dot to each of the trays and remove the red backing to expose the adhesive.
  12. Firmly press the glass cabochons into the corresponding trays.


  1. Select images and add to the glass cabochons using Fantastic Glaze & Glue.
  2. Using pliers attach the Mini Round Link Trays and the Small Round Trays together using small jump rings. Alternate the sizes of the trays.
  3. Attach a small jump ring to each end of the bracelet. Add a lobster clasp to one end and a large jump ring to the other end.
  4. Add the Smooth Butterfly and Cute Butterfly Charms to the large jump ring using small jump rings.
  5. Add a Fantastic Jeweler's Dot to each of the trays and remove the red backing to expose the adhesive.
  6. Firmly press the glass cabochons in the corresponding trays.


  1. Select images and add to the glass cabochons using Fantastic Glaze & Glue.
  2. String the Mini Square Charm Trays onto the Long Ear Wires.
  3. Attach one end of the Butterfly Connectors onto the French Ear Wires.
  4. Attach the Small Round Charm Trays to the Butterfly Connectors using small jump rings.
  5. Add a Fantastic Jeweler's Dot to each of the trays and remove the red backing to expose the adhesive.
  6. Firmly press the glass cabochons in the corresponding trays.
Happy Crafting!