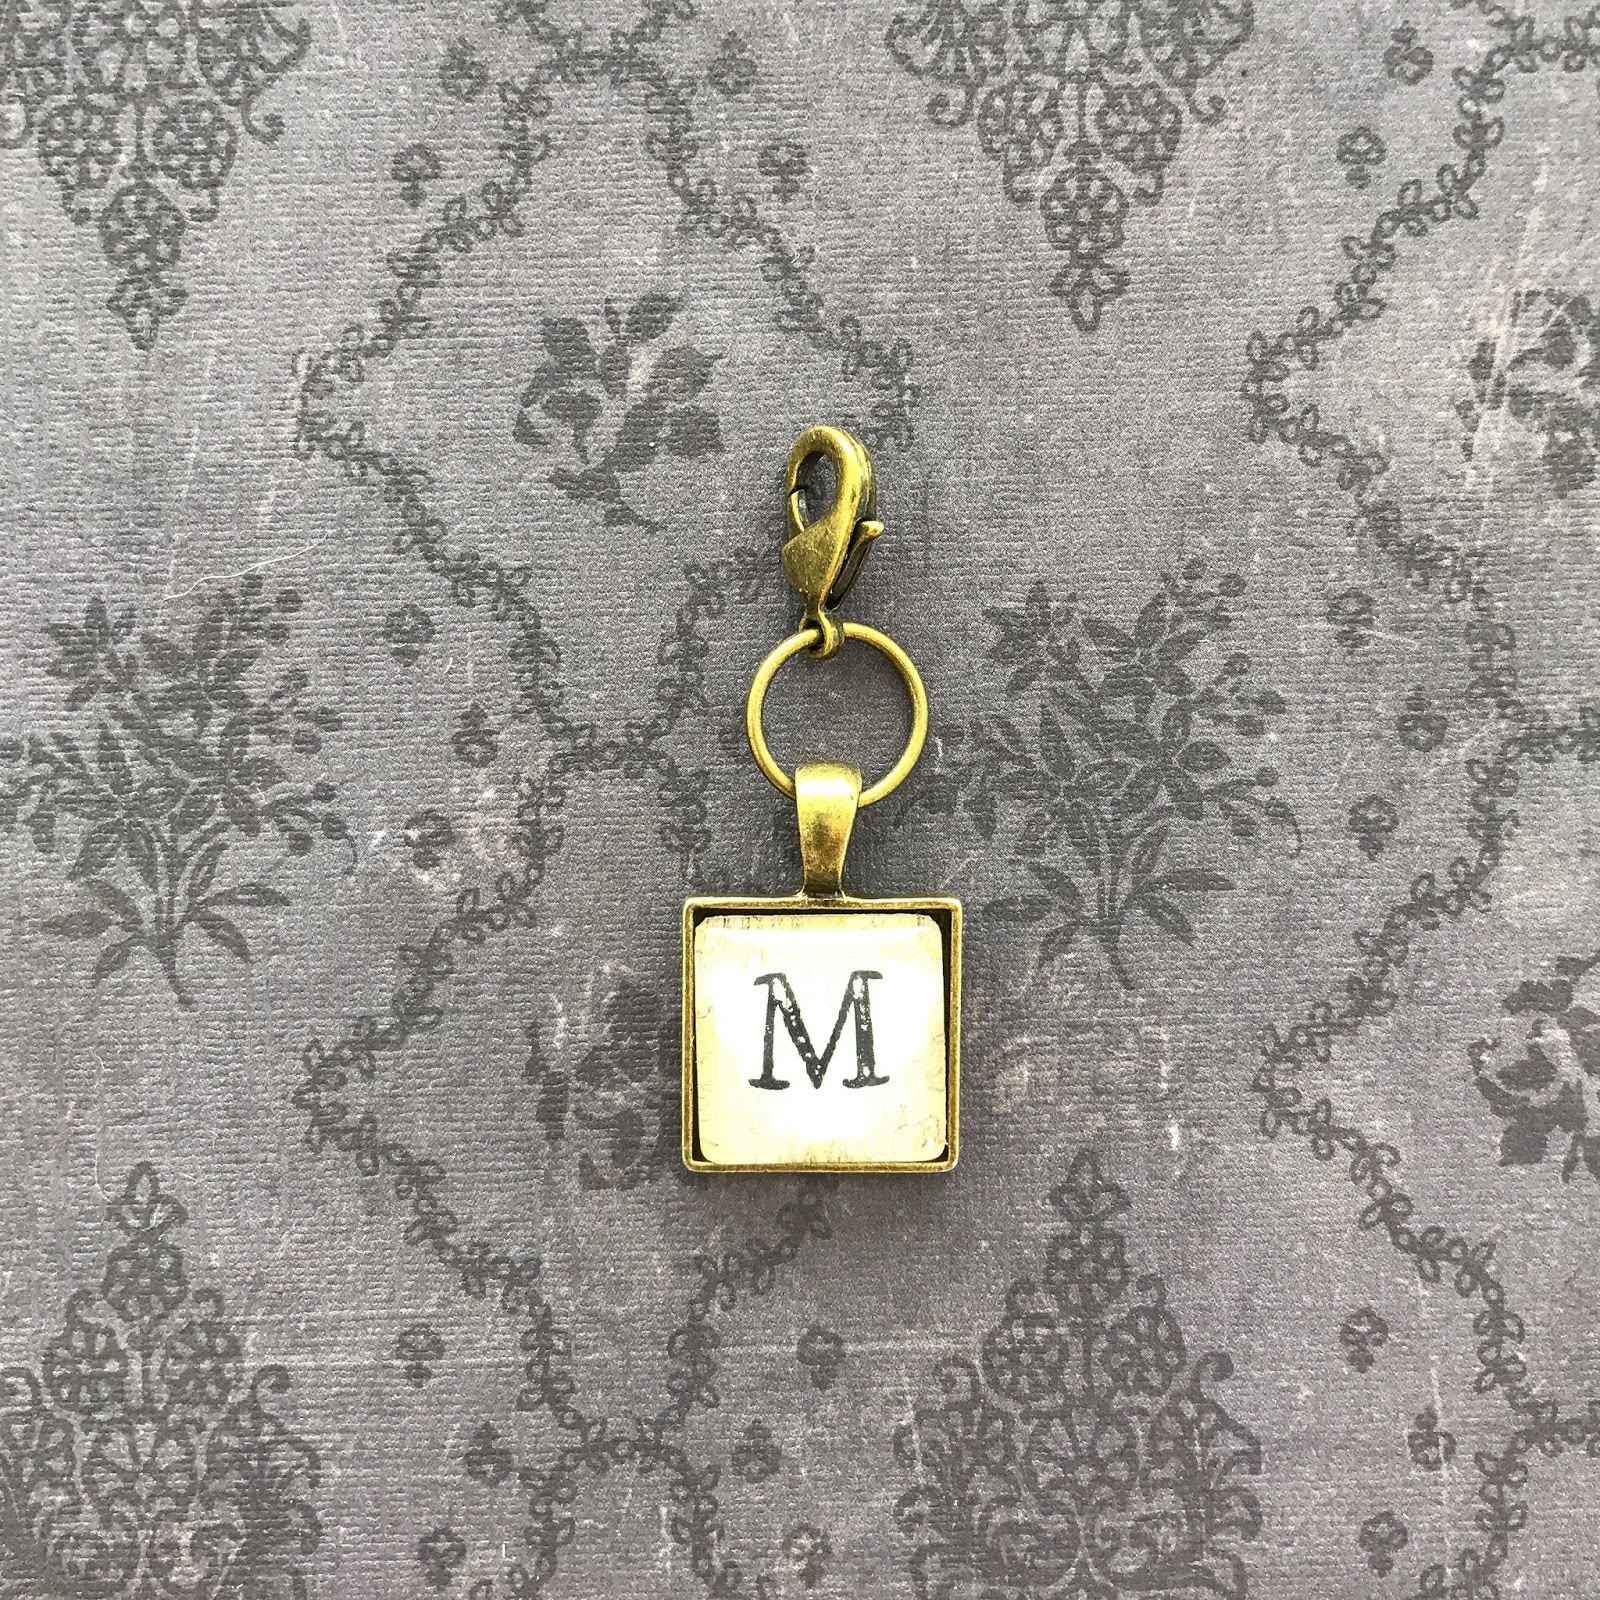
Pendants dangling from Lobster Clasps allow the ultimate flexibility in style and function! Wear the three dangle pendants together for a showstopper piece with bohemian flair or just sport one for a more minimalist look! Add them to other Craft Fantastic pendants for an easy change-up! The possibilities are limitless! PLUS, there's bling! I truly can't keep my eyes off something shiny and these pieces will certainly turn heads for the very same reasons!
Let's put these gorgeous pieces together...
Assembly Instructions
Here's a few links to help you complete the projects followed by a few
assembly instructions for each piece:
- Cut the center of the 30" Rolo Chain using a pair of scissors or wire cutters.
- Attach a Small Jump Ring to each end of the chain.
- String a Large Jump Ring through the Small Jump Rings.
- See individual instructions below for completing each Dangle Pendant.
- Select an image and add it to the glass cabochon using Fantastic Glaze & Glue.
- Attach the Tiny Round Link Tray to the Mini Round Twist Link Tray using a Small Jump Ring.
- Attach the Knot Connector to the bottom of the Tiny Round Link Tray using a Small Jump Ring.
- Attach the Lobster Clasp to the top of the Mini Round Twist Link Tray using TWO Small Jump Rings. This will help the pendant lay properly when worn.
- Add a Fantastic Sticky Dot to the Mini Round Twist Link Tray. Add a Fantastic Sticky Dot that has been cut into 1/4 to the Tiny Round Link Tray. Remove the red backing to expose the adhesive.
- Firmly press the appropriate cabochon into the Mini Round Twist Link Tray. Press the Tiny Round Glass Bling into the Tiny Round Link Tray.

- Select an image and add it to the glass cabochon using Fantastic Glaze & Glue.
- Attach the Heart Charm to the bottom of the Tiny Round Link Tray using a Small Jump Ring.
- Attach the Lobster Clasp to the top of the Tiny Round Link Tray using TWO Small Jump Rings. This will help the pendant lay properly when worn.
- Add a Fantastic Sticky Dot that has been cut into 1/4 to the Tiny Round Link Tray. Remove the red backing to expose the adhesive.
- Firmly press the cabochon into the tray.
- Select an image and add it to the glass cabochon using Fantastic Glaze & Glue.
- Attach the Lobster Clasp to the top of the Mini Square Pendant Tray using a Large Jump Ring.
- Add a Fantastic Sticky Dot to the tray. Remove the red backing to expose the adhesive.
- Firmly press the cabochon into tray.
- Select images and add them to the glass cabochons using Fantastic Glaze & Glue.
- Attach the Small Round Twist Link Trays together using small jump rings.
- Attach the Lobster Clasp to one end using a Small Jump Ring.
- Attach the Large Jump Ring to the opposite end using a Small Jump Ring.
- Add a Fantastic Sticky Dot to each tray. Remove the red backing to expose the adhesive.
- Firmly press the appropriate cabochon or gem into each tray.
- Select an image and add it to the glass cabochon using Fantastic Glaze & Glue.
- Run the 24" Rolo Chain through the bail.
- Add two Fantastic Sticky Dots to the tray. Remove the red backing to expose the adhesive.
- Firmly press the cabochon into the tray.
- Attach a Knot Connector to the bottom of each Mini Round Twist Link Tray using a Small Jump Ring.
- Attach a French Ear Wire to the top link of each Mini Round Twist Link Tray.
- Add a Fantastic Sticky Dot to each tray. Remove the red backing to expose the adhesive.
- Firmly press a Mini Round Glass Bling into each tray.
- Select an image and add it to the glass cabochon using Fantastic Glaze & Glue.
- Add a Fantastic Sticky Dot to the tray of the Mini Round Twist Ring. Remove the red backing to expose the adhesive.
- Firmly press the cabochon into the tray.
See you soon with more crafty stuff!