Showing posts with label Technique. Show all posts

Thursday, April 28, 2016

Custom Painted Spring Cabochon!


It's no secret that I love to play with nail polish in my craft room. The endless color options and the hard glossy finish it leaves behind draws me in like a moth to a flame. Of course, these qualities are meant to give your fingernails a bit of glitz and glamour, but what it does to a Craft Fantastic Glass Cabochon will send your crafty mojo into orbit! I paint it on the back of the glass for a faux dichroic effect, I paint it on the front for a completely different effect, and I swirl it around in water for a faux marble effect. Ironically my nails always look terrible, but my glass cabs look great!  

Let's get started...

What You'll Need

Craft Fantastic Glass Cabochons - use whatever shape or size your crafty heart desires.

Nail Polish - pick your palette. I used dollar store polishes in this project to keep it economical, but you probably have a medicine cabinet full of nail polish bottles just gathering dust. 

Nail Art Polish - I also picked this up from the dollar store in white, black and silver.

Clear Top Coat

Pencils with an Eraser Top

Flat Topped Tac


Stylus


I forgot to take a picture of my supplies, so I'll just jump right into the process. I needed a sturdy way to handle my glass cab so I stuck a flat topped tac into the eraser end of a pencil.


Next I added a jeweler's dot to the top, firmly pressed it into the tac and peeled back the red liner to expose the adhesive.


Then I pressed the back of the glass cab onto the jeweler's dot. This gives me a way to securely paint my cab with the polish without the risk of dropping it or getting fingerprints all over it. 


I started with my base color, this is a light aqua polish and it was pretty sheer, so I needed about three coats to provide opaque coverage. I placed the pencil in a heavy mug and let the cab dry thoroughly between coats.


Time to get creative! I picked up some polish at the dollar store specifically for painting designs on fingernails. This bottle refers to it as Nail Art Paint. It typically comes in a tall narrow bottle and has a long skinny brush. I used this jet black color to create a few simple branches on my cab then I placed my pencil holder and cab into a mug to dry. 


Next, I took Nail Art Paint in white and dabbed it onto the top of another bottle of polish. I needed a flat surface that I could easily dip a stylus into. I stole this idea from watching the ladies at the pedicure places. They know their stuff! A stylus is used in lots of paper crafts for embossing and scoring techniques. I bet you already have one of these in your craft stash.


I dipped the stylus into the white Nail Art Paint and then gently pressed it into to the cab around my branches to create petals for my flowers.


This is already looking pretty great!
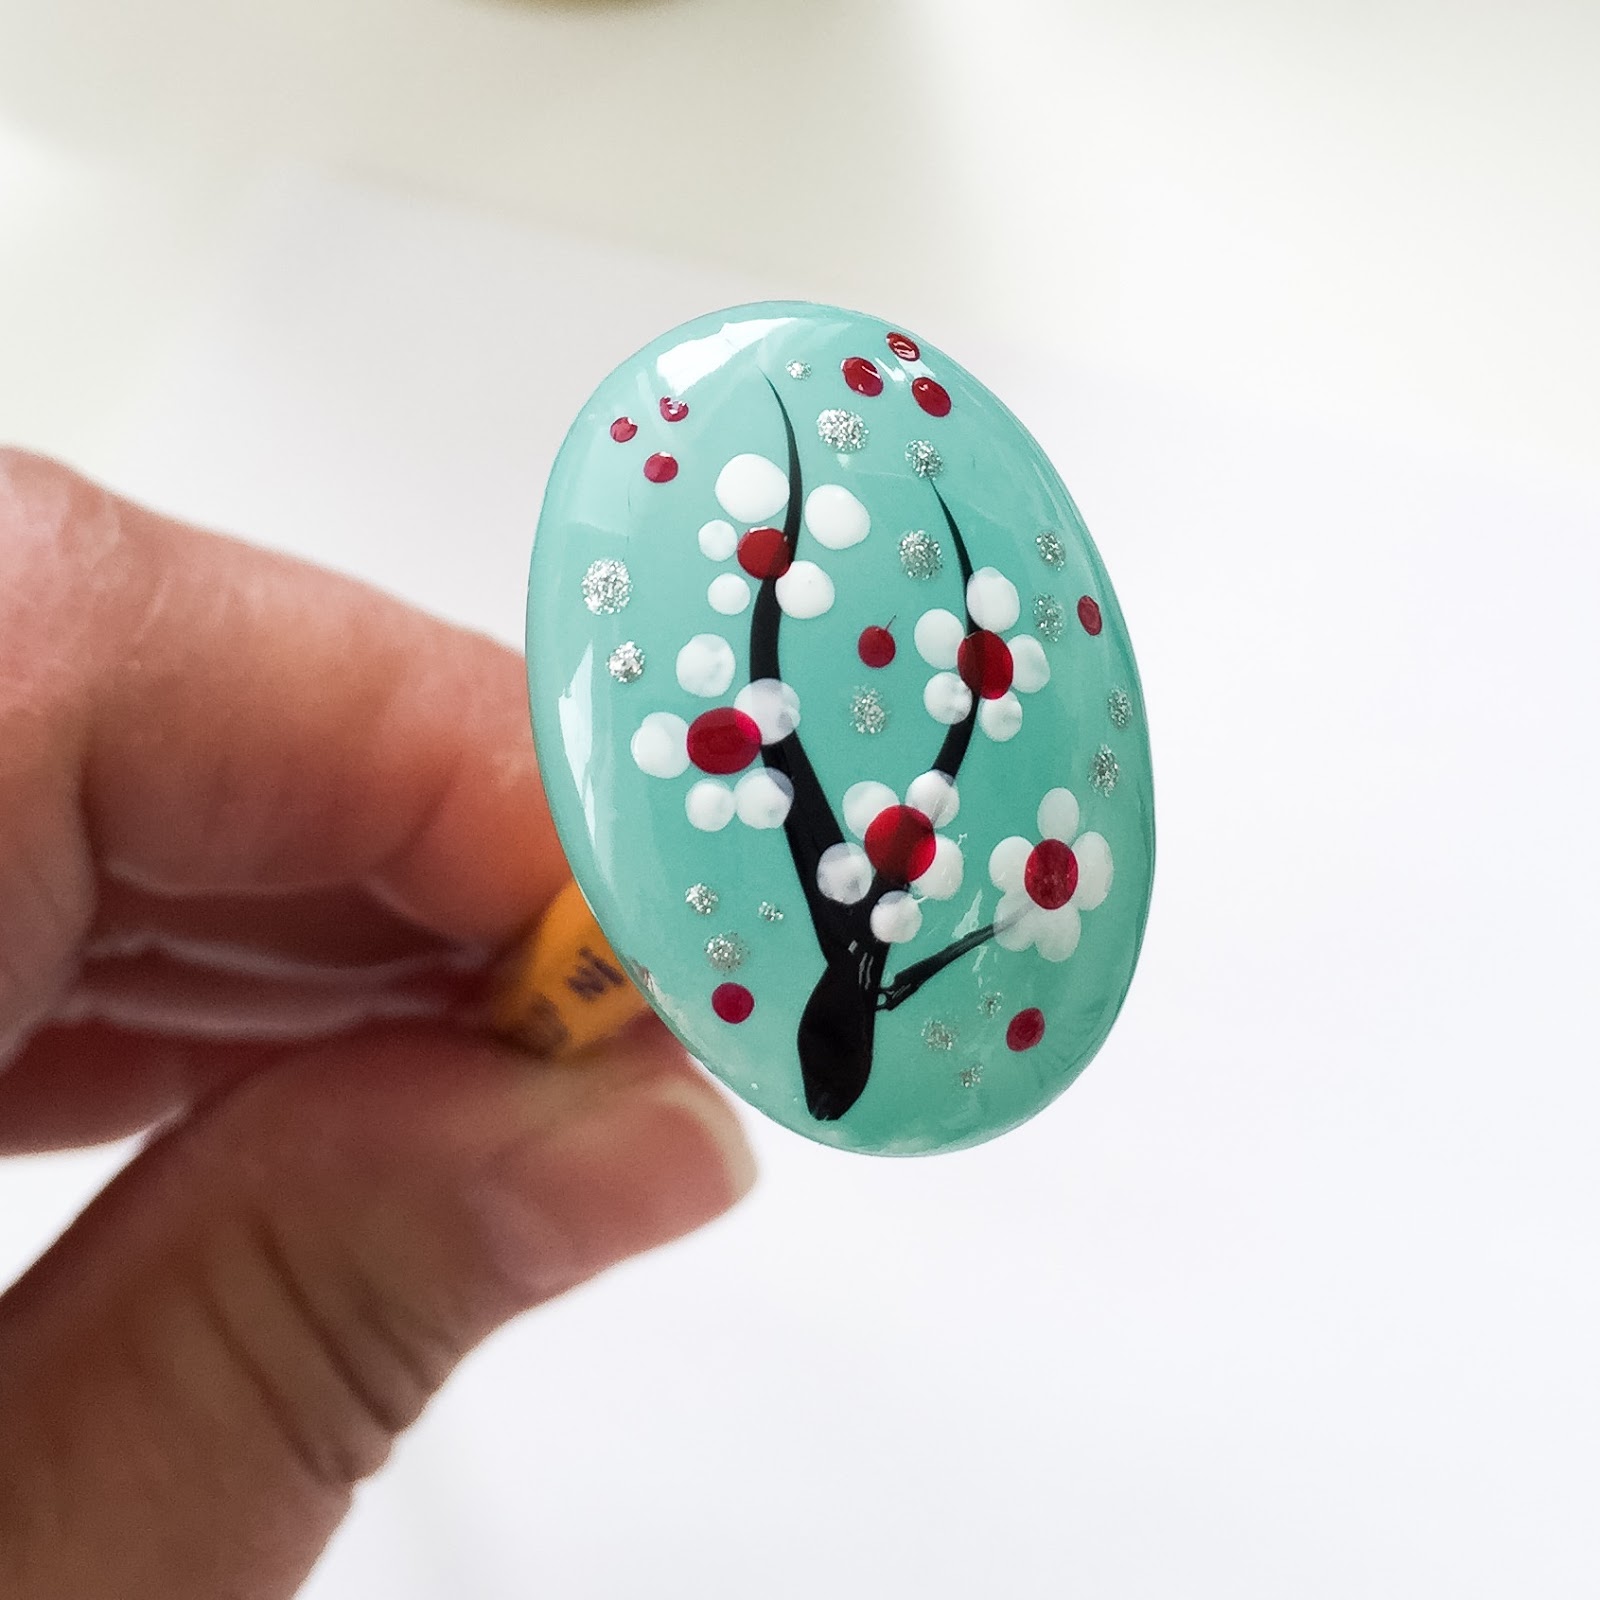


I followed the white Nail Art Paint with a few random dots of silver Nail Art Paint. Then I finished my flower centers with dabs of basic red nail polish. I let all of these layers dry and then topped it with a coat of clear Top Coat nail polish. This adds a protective layer and gives it a nice smooth glossy finish.


I added a tray and some findings to create a one of a kind hand painted necklace. Oh my gosh! This was so much fun! I hope you'll try your hand at this technique. If you do, feel free to share pictures on the Craft Fantastic Facebook Page. Also, if you liked this post and want to see what I do next, be sure to sign up in the sidebar to receive blog updates right to your IN BOX

Don't forget to add your email address to subscribe to our monthly NEWSLETTER. It's filled with exclusive specials, freebies, product peeks and oodles of inspiration!

See you next week with something new! 

Wednesday, October 21, 2015

Faux Turquoise Water Marbling Technique!

Lately, I've been smitten with water marbling on glass and wondered how I might use this technique with the Craft Fantastic product line. I thought I would play around with it and see what happened.

I like projects that don't require a lot of supplies. These types of projects cater to my impatient side and allow me to get started right away rather than having to gather and shop for exotic tools and ingredients. For this project, I just so happened to have everything needed right at my fingertips. Yippee!

Once again, I reached into the medicine cabinet for this one pulling out my nail polish collection. I've used nail polish in several of these posts. Maybe it's time to relocate these colorful bottles to the craft room and just be done with it.

Typically, this technique requires you to water marble either on the front or the back of the cab and then follow with a coat of contrasting polish on the back to bring out the colors in the marbling. I decided to do something a little different. I decided to start by painting the top of my domed glass cab with polish and then marble on top of that. My goal was to achieve a stone look and in this case specifically faux turquoise. 

This technique is so fun and unpredictable (in a great way)! Gather your supplies and...

Let's get started...  

What You'll Need

Craft Fantastic Glass Cabochons - Assorted shapes and sizes. Be sure and have lots on hand because once you get started on this it's hard to stop.

Nail Polish - Specifically, light turquoise, black, white, silver or gold, and a top coat. 

Water Cup

Heavy Mug

Pin or Needle

Pencils with Eraser Tips

Flat Topped Tacks


A few simple supplies that you undoubtedly have on hand already are all you need to get started.


The trick to making these cabs is affixing the glass bead to a long stick in order to dip them cleanly without getting your fingers in the water or the nail polish. Lucky for you, I found an easy way to do this using a pencil with an eraser tip, a flat-topped tack and a couple of Jeweler's Dots...yes, you read that right, good old Jeweler's Dots. They really can do everything!


Start by affixing a Jeweler's Dot to the top of the tack. Remove the red backing and apply another Jeweler's Dot. I use two dots to ensure that the adhesive is strong enough hold the piece of glass onto such a small surface.  


Two Jeweler's Dots stacked on top of each other form a nice sticky bond to hold even our largest sized glass cabochons to the top of the tack.


Here I have a Large Glass Oval cab affixed to the end of a tack with Jeweler's Dots ready to be painted and dipped.


I used a pale turquoise nail polish to paint the top of my cab. This polish was rather sheer as you can see in the photo on the left, so I applied three coats of the polish letting the layers dry completely between each coat.


My coffee mug provides a sturdy upright place for my cabs to rest while they dry.


Now the fun part! Working pretty quickly, take a cup and fill it with room temperature water. Next drop nail polish into the water. The droplets will float to the top and and spread out. Use a pin to gently drag the colors around. 


Dip the bead in the water to pick up the layer of nail polish floating on the surface. Pick up as little or as much as you find aesthetically pleasing. 


Sit this little beauty back in the coffee mug to dry. Once dry, brush with a layer of top coat to finish it off and add it to one of our Craft Fantastic Trays, then sit back and admire your handiwork. 


Fabulous in a Faux Leather Bracelet.


 Stunning in a Medium Round Frame Tray.


A show stopper in a Large Oval Tray.


I love the large ovals so much I had to make two!


I chose to finish these using the silver trays and findings because the look lends itself to the Southwest style found here in New Mexico. What color combinations will you use? Give this super easy technique a whirl and share your pics with us on the Craft Fantastic Facebook Page. We LOVE to see what you're working on! Also follow this blog by email so you never miss a post. We'll drop the latest and greatest blog news right in your inbox.

Wednesday, August 12, 2015

Using the Craft Fantastic Collage Words Art Image Sheet!

I love to use printed words and text in my art projects. The simple addition of 3 or 4 words can make such an impact whether the desired results are humor, inspiration, motivation, etc. They can be 3 or 4 powerful stand alone words to drive the point home or a series of words to create a complete thought. Whatever the case, they certainly add so much more meaning and creativity to an image. 

The Craft Fantastic line of Art Image Sheets consists of many beautiful designs featuring images found in nature, vintage images, destination images, etc., but we also offer a Collage Words Sheet composed of a variety of words in a typewriter font, perfectly sized to easily work under the Craft Fantastic Glass Cabochons. This sheet is a hidden gem nestled quietly among the more artsy sheets. Today I'm giving this sheet it's due and showing you how something so simple can add so much.

Let's get started...

What You'll Need

Collage Words Art Image Sheet - The star of the show!


Miscellaneous Craft Fantastic Glass - I used larger glass sizes for these so I had plenty of room to showcase the wonderful images and add a few words, too.


Scissors

Cotton Swabs 

Scrap Piece of Paper 


I selected the images I wanted and poured over the Collage Words Sheet to cull just the right 2 or 3 words for each design. I trimmed out each word pretty close so that they would fit neatly under my glass. 


I decided to have some fun with image below so I started with a bold sunflower from the Sunflowers Art Image Sheet and then tore one of the squares on the diagonal from the Text Art Image Sheet. Next I added my Collage Word. I laid these pieces out so I could get a feel for how I wanted them positioned and to make sure they would display correctly under my Large Glass Square. Working on a scrap piece of paper, I laid my main image down. I lightly covered my torn pieces with glaze and glue making sure to apply it right up next to the edges. I gently pressed these down and positioned them across the opposite corners. Next, I laid down just a tiny strip of glaze and glue across the area that I knew I wanted to put my collage word. 

When using these tiny words, I found that they were hard to handle because of their petite size and the fact that I have fat fingers, but if I dipped a toothpick in the Glaze and Glue and touched it to the front of the word, then I could easily pick it up and lay wherever I wanted with better precision. 


Once I had glued all my words down, I made my glass using the same steps that I normally would. If you need a refresher, here's a link that might help. I found I needed a wee bit more glue than usual in order to make sure that I was able to press those air bubbles out. Even though the paper is thin, the added layer of the word can result in air bubbles if there is not enough glue applied to the glass piece. 


All done! A pile of pretty glass waiting for a pendant tray to show it off!


Here's an upclose look at each piece. 


To finish these off, I added a Fantastic Jeweler's Dot to my Pendant Trays and pressed the glass pieces into each one. I love how the collage words add a bit of humor and beauty to each of these finished pendants and I can't wait to make them into fabulous neckwear!


Thanks for joining me this week! I hope you had as much fun as I did and I hope you will play with the Collage Words Art Image Sheet at home! If you do, feel free to share pics of your finished pieces on the Craft Fantastic Facebook page. We LOVE to see what our Crafty Friends are up to! 

Be sure to visit next week for something new!