Showing posts with label Easy. Show all posts

Thursday, May 19, 2016

Collage Pendants!


The Craft Fantastic line of Art Image Sheets is glorious in style, color and tone! Anne, the owner extraordinaire, has carefully curated the designs and selected images that complement each other. However, if you need even MORE options, this collage technique will fit the bill!

Last year I shared a blog post featuring the Collage Words Art Image Sheet. The projects were oodles of fun and I meant to create more pieces using this technique, however, the excitement that is Craft Fantastic distracted me and I never got back to it. Recently, Erin, one of our newest Show Team Members started creating samples using layers of our Art Images. The results were so fabulous, that it made me want to share another post with you regarding collage and how to incorporate it into your jewelry pieces. By the way, the wonderful sample at the top of this post is one of Erin's.

Let's get started...

What You'll Need

Craft Fantastic Art Image Sheets - An assortment of your favorites.

Craft Fantastic Glass Cabochons - Whatever sizes and shapes make you happy. 


Super Fine Glitter - Optional

Scissors

Cotton Swabs (not pictured)

Scrap Paper - To work on.


A few meager supplies and I'm ready to go!


I've selected a nice background image, a couple of butterflies and a lovely lady in profile.
 I cut them out using scissors.


I also decide to add a couple of words from the Collage Word Art Image Sheet. I lay them out to get an idea of how I want my piece to look. I use some of the Glaze & Glue to start gluing my smaller images to my background to make sure everything stays in place when I lay my piece of glass on top.


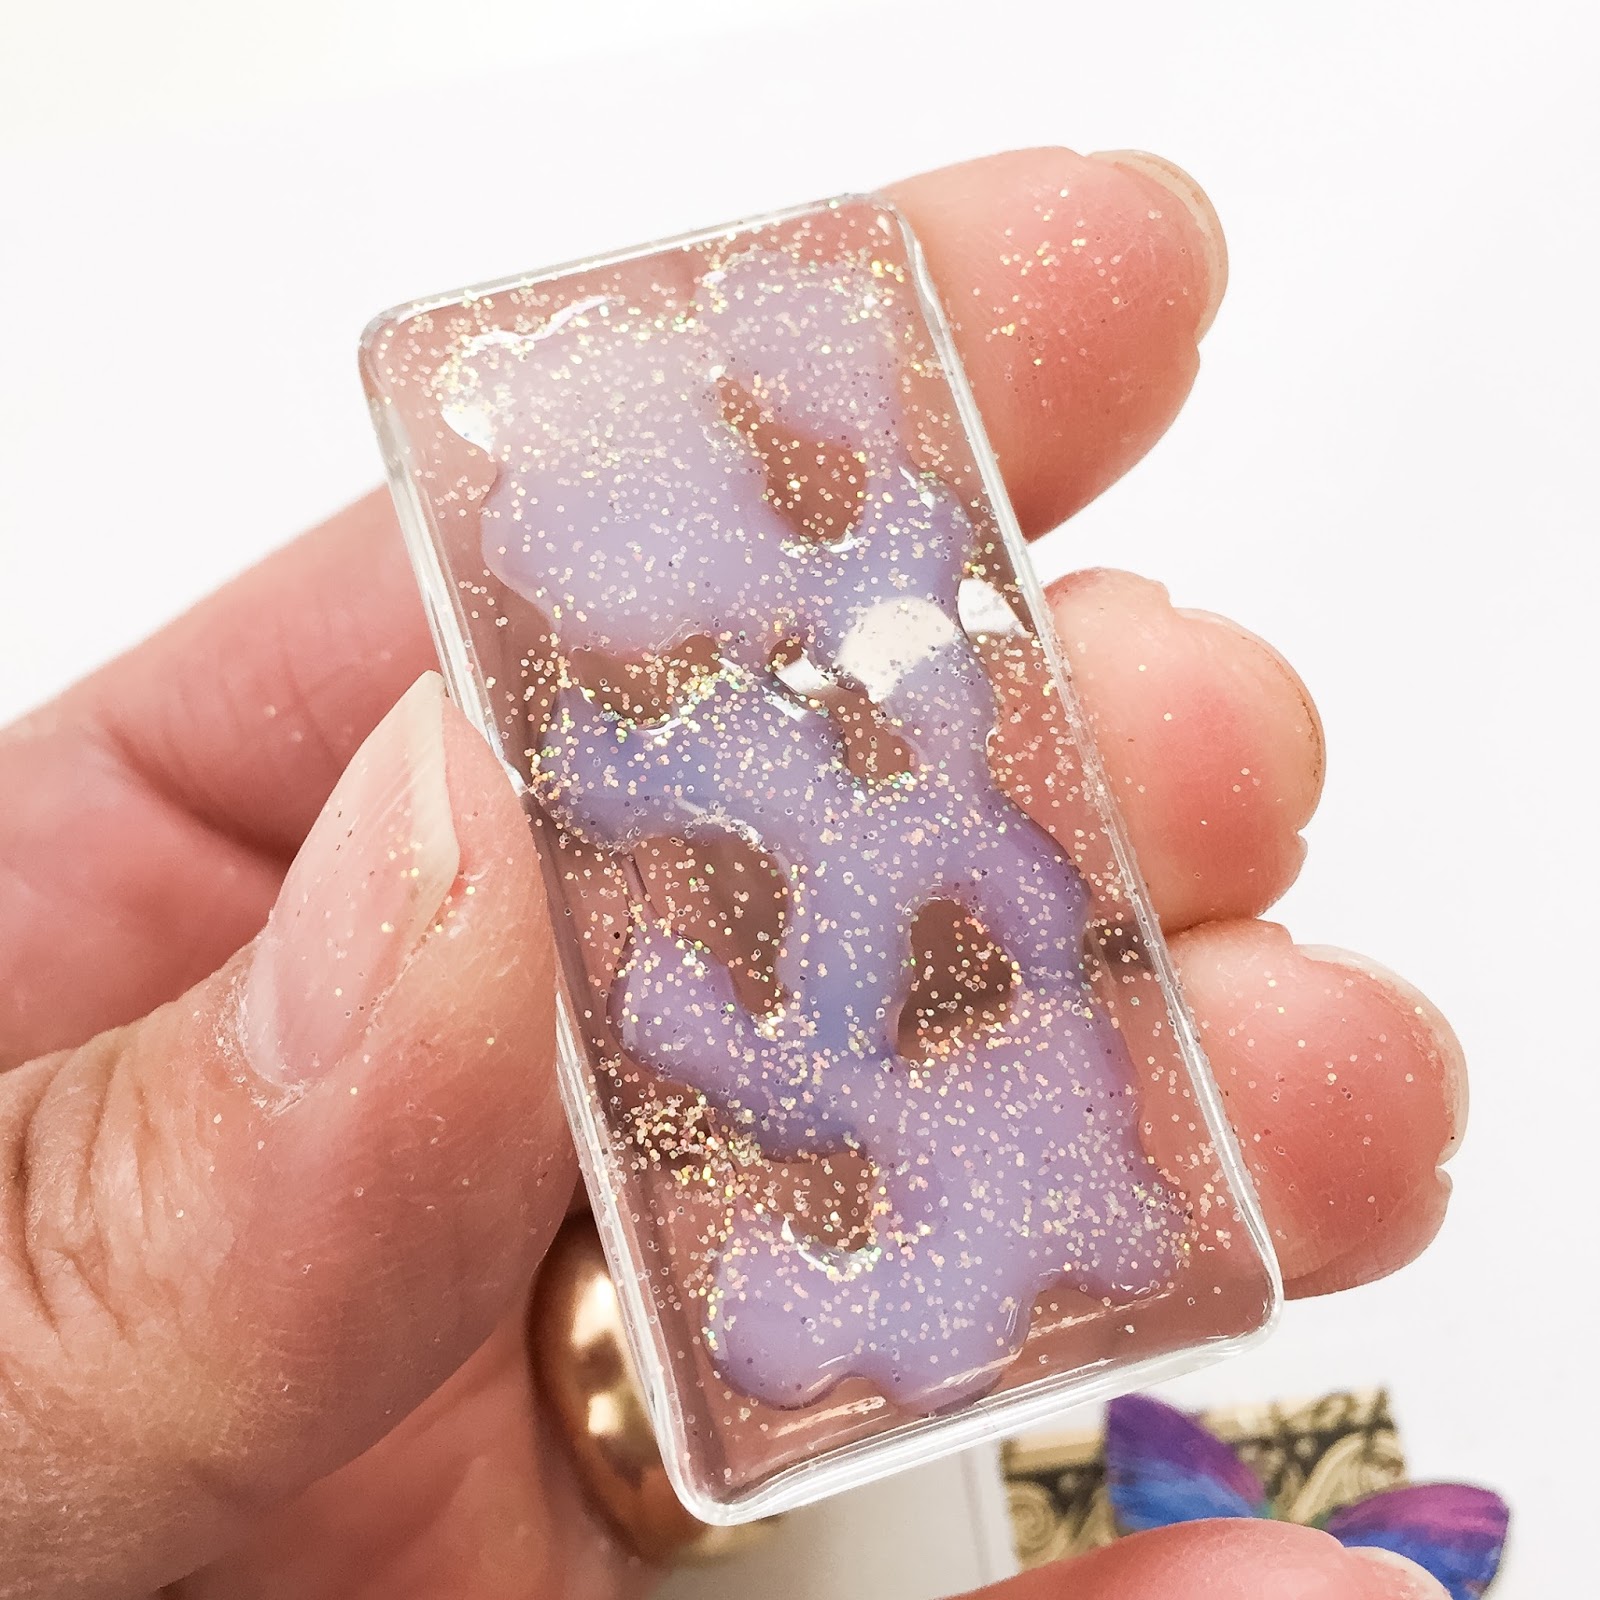
I use a generous amount of Glaze & Glue on the back of my glass cab to ensure that no air bubbles get trapped between my layers and show up later. I sprinkle a bit of super fine glitter on the glue as an after thought.


I lay my glass cab on top and firmly push out the air bubbles as I normally would. I let this set for a few seconds, then wipe away the excess glue with a cotton swab. I let it dry completely before I trim away the paper edges.


I quickly made a slew of these! I used a little bit of glitter on a few and then left the others plain. Erin's beautiful piece is in the middle. 


I hope you enjoyed this week's tutorial! Super easy, but SUPER creative! 

Thanks for joining me. Stay up to date on all of the Craft Fantastic tutorials, product peeks, and giveaways by following this blog via EMAIL (sign up in the side bar), liking Craft Fantastic on FACEBOOK, and subscribing to our monthly NEWSLETTER

See you next week with something new!

Tuesday, December 15, 2015

A Candy Inspired Bracelet!

2015 is quickly coming to a close, but there is time for one more blog project before we usher in the New Year. I wanted something fun and festive to wear for the holidays and immediately visions of candy canes and peppermint popped into my head. Go figure that I would immediately turn to candy as my inspiration. Good thing I wasn't inspired by a glazed ham! LOL!

I dug deep into my bag of crafty tricks and pulled out one of my favorite tools. Yes, you guessed it. Some day I hope someone will ask me what medium I prefer to work in just so I can reply with "Nail Polish"!  

Let's get started...

What You'll Need


Assorted Nail Polish - I used bright red, white, and a couple of silvery metallics polishes, plus a top coat.

Pencils with Erasers

Flat Topped Tac Pins 

Water Cup

Heavy Coffee Mug

Pin


Gather your supplies. Oops! I forgot the bracelet in this photo.


Press the flat topped tack pins into the eraser tops on the pencils, then stack 2 Jeweler's Dots on top. Press the flat side of a small glass square on top of the Jeweler's Dot. The 2 dots will be strong enough to keep the glass piece in place and act as a "dipper". Need more info regarding this "dipper" technique? Check out my blog post here. Next, paint the top of the glass with 3 coats of the white polish. Set the dipper in the mug and let it dry.

Fill the designated water cup with water, then drip several drops of the red polish into it followed by the metallic polishes. Drag the pin lightly through the polish to create a bit of a swirl pattern. Don't mix it too much. The polish forms a skin on top of the water and you don't want to risk dragging the skin completely off the top of the water with the pin.

Drag one of the dippers with a painted glass square on it through the nail polish. When you lift it out of the water, you'll see a beautiful marbled design on it. The best part about this process is that each time you dip one of the glass pieces in the polish you will get different results.


Set your completed masterpieces in the mug and let them dry.


Finish the glass pieces with a shiny top coat. I like to use a quick dry formula.


I placed a Jeweler's Dot in each tray of my bracelet and then topped each tray with one of my candy inspired glass pieces. 


I LOVE how this turned out! Each square is different and gives the bracelet a unique appearance from each angle. 


Here it is from a different view.


This was certainly fun and very quick! The longest part of this process was the drying times between the coats of polish. I would say that all in all, this bracelet took me 3 hours to complete, drying time included. Give this one a try and whip up something festive for yourself or a friend! They will love it! 

Sign up to follow this blog by email and you'll have the latest and greatest Craft Fantastic info dropped right into your Inbox! Also, check us out on Facebook for giveaways, product sneak peeks, and project inspiration! 

See you next time!

Wednesday, December 9, 2015

6 Last Minute Christmas Projects!

It's 5:00pm on December 23rd and you hear an unexpected knock on your door. Who could it be? A quick peak through the peephole reveals it's Aunt Beatrice with her rosy cheeks, dimpled grin and one of her famous fruitcakes in tow.  Oh, no! Aunt Beatrice wasn't on your shopping list! You don't even have a Christmas card for her! What to do???!!! The panic starts to build, but then you remember. You have handmade Craft Fantastic jewelry pieces already made and packaged for giving. Phew! You regain your composure, open the door and give Aunt Beatrice a big hug and a warm smile. Crisis averted.

Don't you love a story that turns out well in the end? Me, too! Here are six quick and easy last minute Craft Fantastic projects you can whip up in no time. Keep them on hand to share with unexpected guests, forgotten Christmas List recipients, and that fabulous party hostess who throws the swankiest soirées. You never dreamed you'd score an invite to her Holiday Extravaganza, but you did. Congratulations.

These are so easy and only one of these projects requires a jump ring. The rest are as basic as applying an image to a glass cab, affixing it to a tray and then adding a finding of your choice to transform it into a ring, key chain, bracelet, pendant or earrings. These are sure to please and put a  grateful smile on the lucky recipient's face.

Go forth and be a crafty hero. Happy Holidays!


Six pretty pieces ready to make someone happy.


Craft Fantastic Keychain w/ Clip


Craft Fantastic Leatherette Bracelet


Craft Fantastic Mini Round Rope Ring